


Foundation Paper Piecing Supplies: The Complete Guide
The most critical foundation paper piecing supplies are lightweight foundation paper around 70 gsm, a sharp 80/12 or 90/14 needle, and high-quality cotton thread for clean seams and easier paper removal. Regular copier paper can work, but specialty paper usually folds and tears away with less resistance.
Why does foundation paper piecing feel difficult when the pattern seems straightforward? Often, the problem isn't your sewing technique. Paper weight, needle sharpness, fabric weave, and cutting accuracy all affect how smoothly the block comes together.
I've watched beginners blame themselves for skipped stitches, bulky seams, and frayed fabric when the actual culprit was a dull needle or paper that behaved more like cardstock. Once the supplies match the project, FPP becomes a controlled process rather than a series of small surprises.
What Is Foundation Paper Piecing and Why Do Supplies Matter
Foundation paper piecing, commonly called FPP, builds a quilt block by sewing fabric directly to a temporary paper foundation. You stitch along the printed lines, add fabric in sequence, trim each seam, and press as you go. The paper stabilizes the fabric, helping you create sharp points and intricate shapes with repeatable accuracy.
Why does that temporary layer matter? Fabric can shift as you sew, especially around narrow points and angled seams. The foundation gives each piece a fixed reference, while the seam lines tell you exactly where the needle should travel.
The technique has roots in 18th- and 19th-century England, when quilters used muslin and later newspapers, letters, and scrap paper to stabilize fabric. A contemporary quilting history traces earlier foundation sewing to the early 1800s, while 1976 marks a modern milestone, when Lesly-Claire Greenberg is credited with developing the foundation paper piecing approach used today. Quilter by Design's history of paper piecing explains how temporary foundations became central to the method.
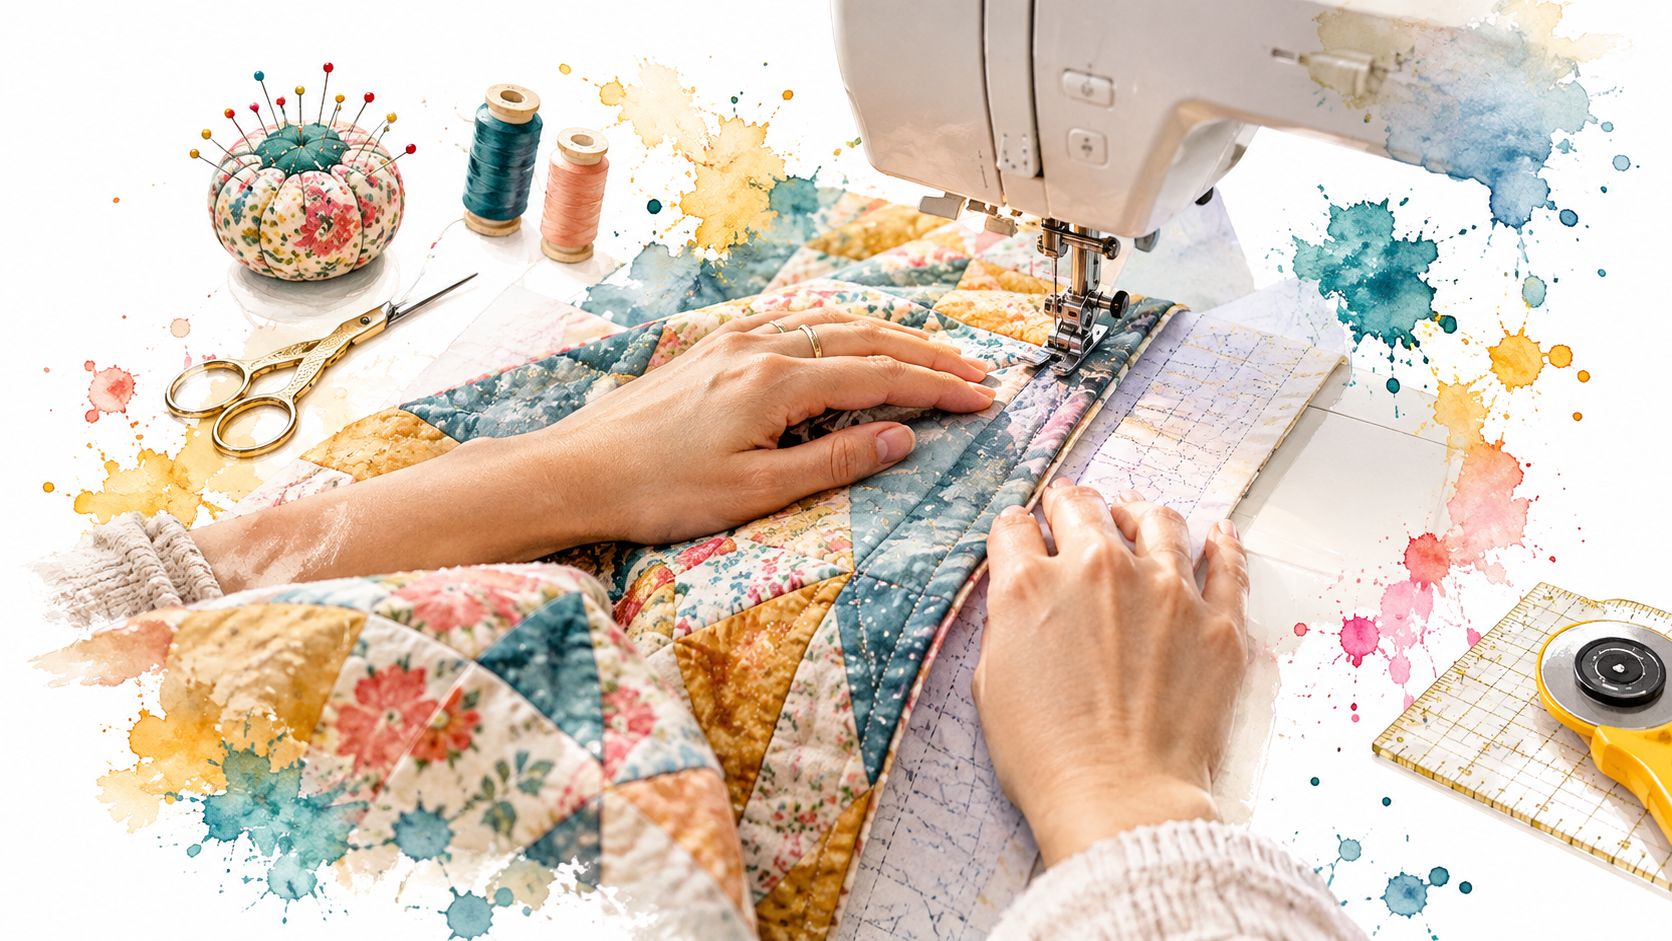
The supply choices that control accuracy
A well-organized FPP workspace usually includes:
- A stable foundation: Lightweight paper supports the fabric without making folds and tear-out unnecessarily difficult.
- A precise cutting setup: A rotary cutter, self-healing mat, and acrylic ruler help preserve the intended seam allowance.
- A controlled stitch: Short stitches perforate the paper, making final removal cleaner.
- A sharp needle: Paper dulls needles faster than ordinary fabric sewing.
- A pressing station: A dry iron or seam roller keeps each seam flat without weakening the paper.
Your printed foundation may be a mirror image of the finished block, so fabric orientation matters. Before sewing, check the pattern scale, piece numbers, seam allowance, and placement. A beginner-friendly project such as this Starrt Up quilt paper piecing pattern can help you practice the sequence without improvising the block design.
Practical rule: If your stitches look right but your points still miss, inspect the paper, cutting, and fabric coverage before changing your sewing speed.
Choosing the Right Paper for Your FPP Projects
The paper beneath your fabric affects folding, stitching, trimming, and removal. Lightweight foundation paper around 70 gsm is easier to fold and remove than standard copier paper, while quilting-specific FPP paper is commonly listed around 18–22 lb for tear-away use. The Sewing Directory's foundation paper guidance supports the practical preference for thinner paper.
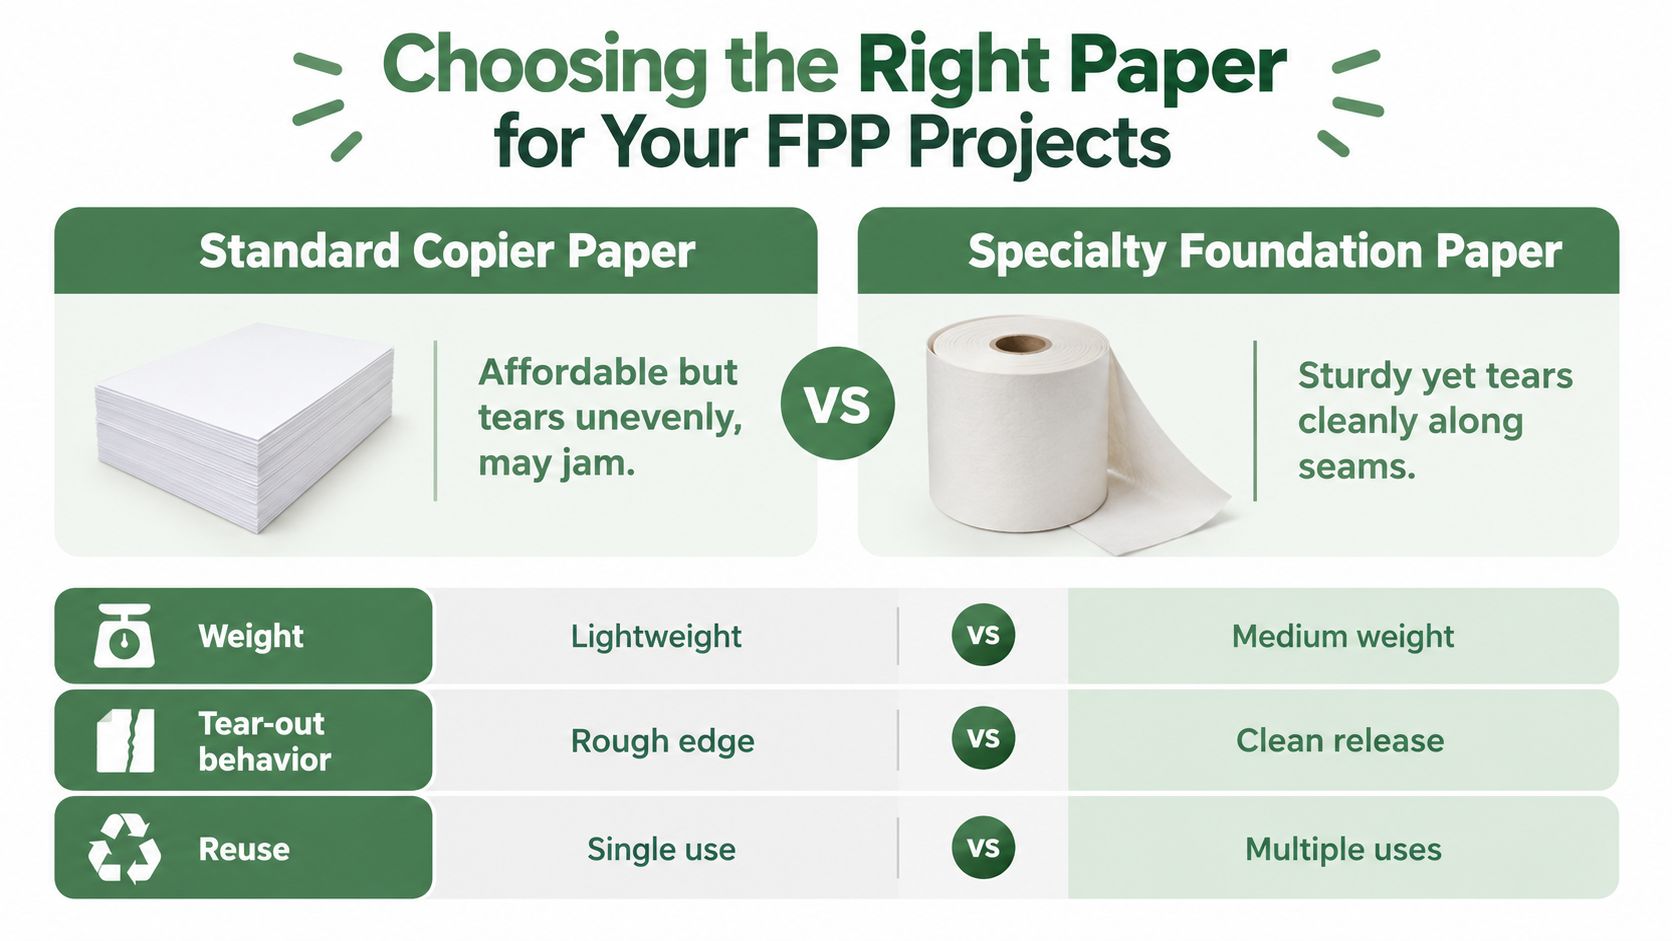
Standard copier paper
Regular printer paper is accessible and works for simple practice blocks. Its main drawback is removal. A heavier, stiffer sheet can resist folding along a seam and may tear unevenly, leaving small pieces caught in dense stitching.
Copier paper also creates more bulk under the presser foot. That can make it harder to see the fabric edge and may increase frustration when a narrow point needs careful alignment.
Lightweight foundation paper
Specialty FPP paper is designed around the actual workflow. It needs enough stability to hold fabric during stitching, but it should still fold sharply and release from perforated seams without pulling the stitches.
Choose it when:
- The block has many pieces: More seams mean more paper to remove.
- The design has narrow points: Thin paper folds more readily around small sections.
- You value clean finishing: Easier tear-out reduces the chance of disturbing delicate seams.
Printing compatibility still matters. Test one sheet in your printer before committing to a full project, and confirm that the template prints at the intended scale.
Tracing paper and freezer paper
Tracing paper is commonly around 20–25 lb, while freezer paper is often around 24–30 lb, according to Handmadelytics' comparison of FPP papers. Tracing paper can offer a lighter alternative when tear-out is the priority.
Freezer paper serves a different purpose. Its temporary adhesive can stabilize fabric for certain workflows, but it isn't always the simplest choice for conventional stitch-through FPP. Think of it as a specialized option rather than a universal replacement.
Essential Tools Needles Threads and Cutting Equipment
The needle is one of the smallest foundation paper piecing supplies, but it has an outsized effect on the result. Sewing through paper creates dense perforations and increases needle wear, so a sharp 80/12 to 90/14 machine needle is a practical choice. Village Bound Quilts' FPP guidance recommends these sizes and a shortened stitch length of around 15–20 stitches per inch, approximately 1.3–1.7 mm.
A fresh needle helps prevent skipped stitches, fabric damage, and needle deflection. I change mine after a paper-piecing project rather than waiting for a visible problem, especially when the design contains many seams.
Thread and stitch control
A smooth 50-weight cotton thread gives you a balanced seam without adding unnecessary bulk. Match the upper thread and bobbin when possible, then test the tension on a scrap with the same paper and fabric combination.
Short stitches make a line of perforations that supports secure seams and easier paper removal. They also weaken the paper around the seam, which is helpful later, but the process can dull the needle more quickly.
For a deeper look at thread weight, fiber, and seam appearance, use this guide to the best thread for quilting.
Cutting tools that protect the seam allowance
A rotary cutter gives you a clean fabric edge, but the ruler determines whether that edge is placed accurately. An Add-A-Quarter ruler creates a consistent trimming guide beside the folded paper, reducing the chance of cutting into the stitched seam.
Keep these tools close to the machine:
- Rotary cutter: Choose a sharp blade and replace it when it begins dragging.
- Self-healing mat: Use a stable surface that supports controlled cuts.
- Acrylic ruler: An Add-A-Quarter style ruler makes trimming more repeatable.
- Fine pins or adhesive: Use whichever holds fabric without distorting small sections.
Fabric and Batting Selections for Durable Quilts
FPP rewards fabric that holds a clean edge. Quilting cotton with a tight weave resists fraying and maintains the shape of narrow pieces as you handle, press, and trim them.
One industry guide describes good quilting cotton as typically starting at about 60 threads per square inch in both directions, with higher counts producing a tighter, more substantial weave. Quiltweb's fabric selection guide connects weave density with resistance to fraying and fabric feel.
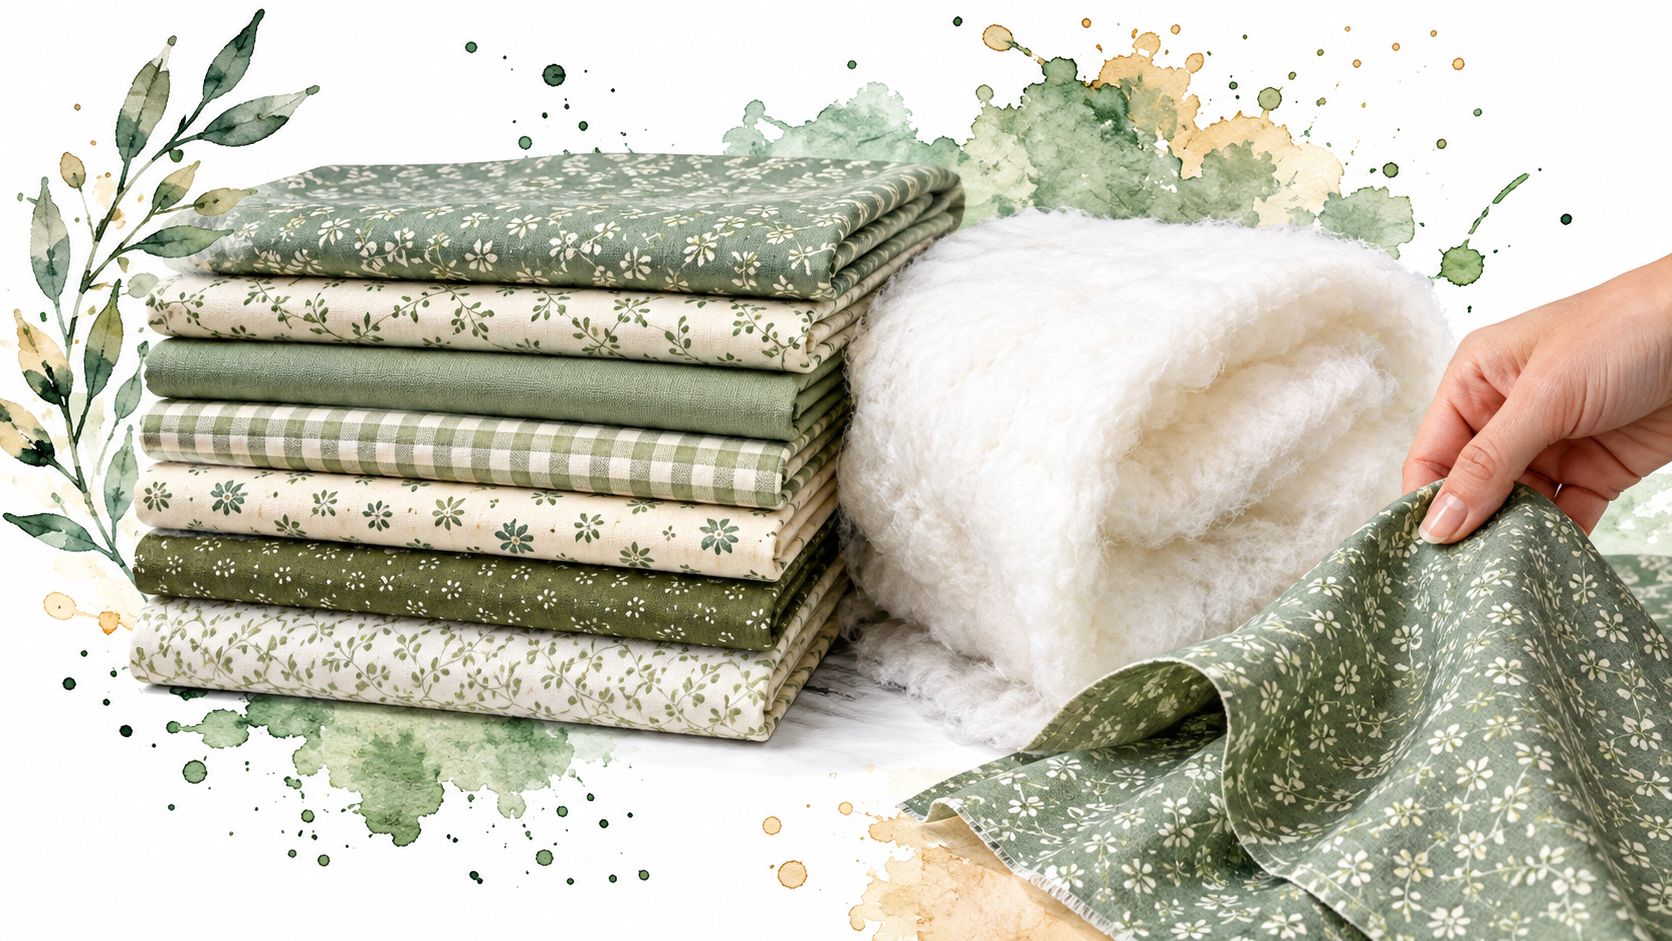
Why weave matters during piecing
A loose weave can feel soft in your hand but shift or shed at a narrow seam. That makes accurate trimming harder, particularly when several angled pieces meet at one point.
I prefer the steady feel of a tightly woven quilting cotton for FPP. Kona Cotton Solids provide a dependable surface for geometric blocks, while Ruby Star Society fabrics add distinctive color and pattern when the design benefits from visual movement.
Cut generous pieces when you're learning. Extra fabric gives you room to cover the seam allowance after the fabric is folded back, whereas an undersized piece forces you to unpick and replace the section.
Batting changes the finished quilt
The piecing supplies create accuracy, but batting determines much of the quilt's final hand, loft, and durability. 80/20 cotton-polyester batting combines 80% cotton and 20% polyester, and one batting reference describes the blend as offering enhanced strength and increased loft. Quilt Batting's roll-by-roll reference explains why this blend suits quilts that need softness with structural resilience.
For broad quilt tops, 108-inch-wide batting is widely sold, including 80/20 Hobbs Heirloom options available by the yard. Sew Hot's batting listings provide an example of this wide-format finishing category.
Choose batting based on the finished use:
- Everyday quilts: An 80/20 blend gives a practical balance of loft and strength.
- Highly defined quilting: Lower loft can show stitch detail more clearly.
- Large tops: Wide batting reduces the need to piece the batting before quilting.
Read this guide to the best batting for quilts before choosing between cotton, blends, and specialty finishes.
The fabric stack and batting should support the design, not fight it. A crisp FPP block paired with a stable backing and suitable loft will remain easier to quilt and more pleasant to use.
Building Your Foundation Paper Piecing Starter Kit
A beginner doesn't need every specialty notion on the first day. Start with supplies that solve the four jobs of FPP: stabilize, stitch, trim, and press.
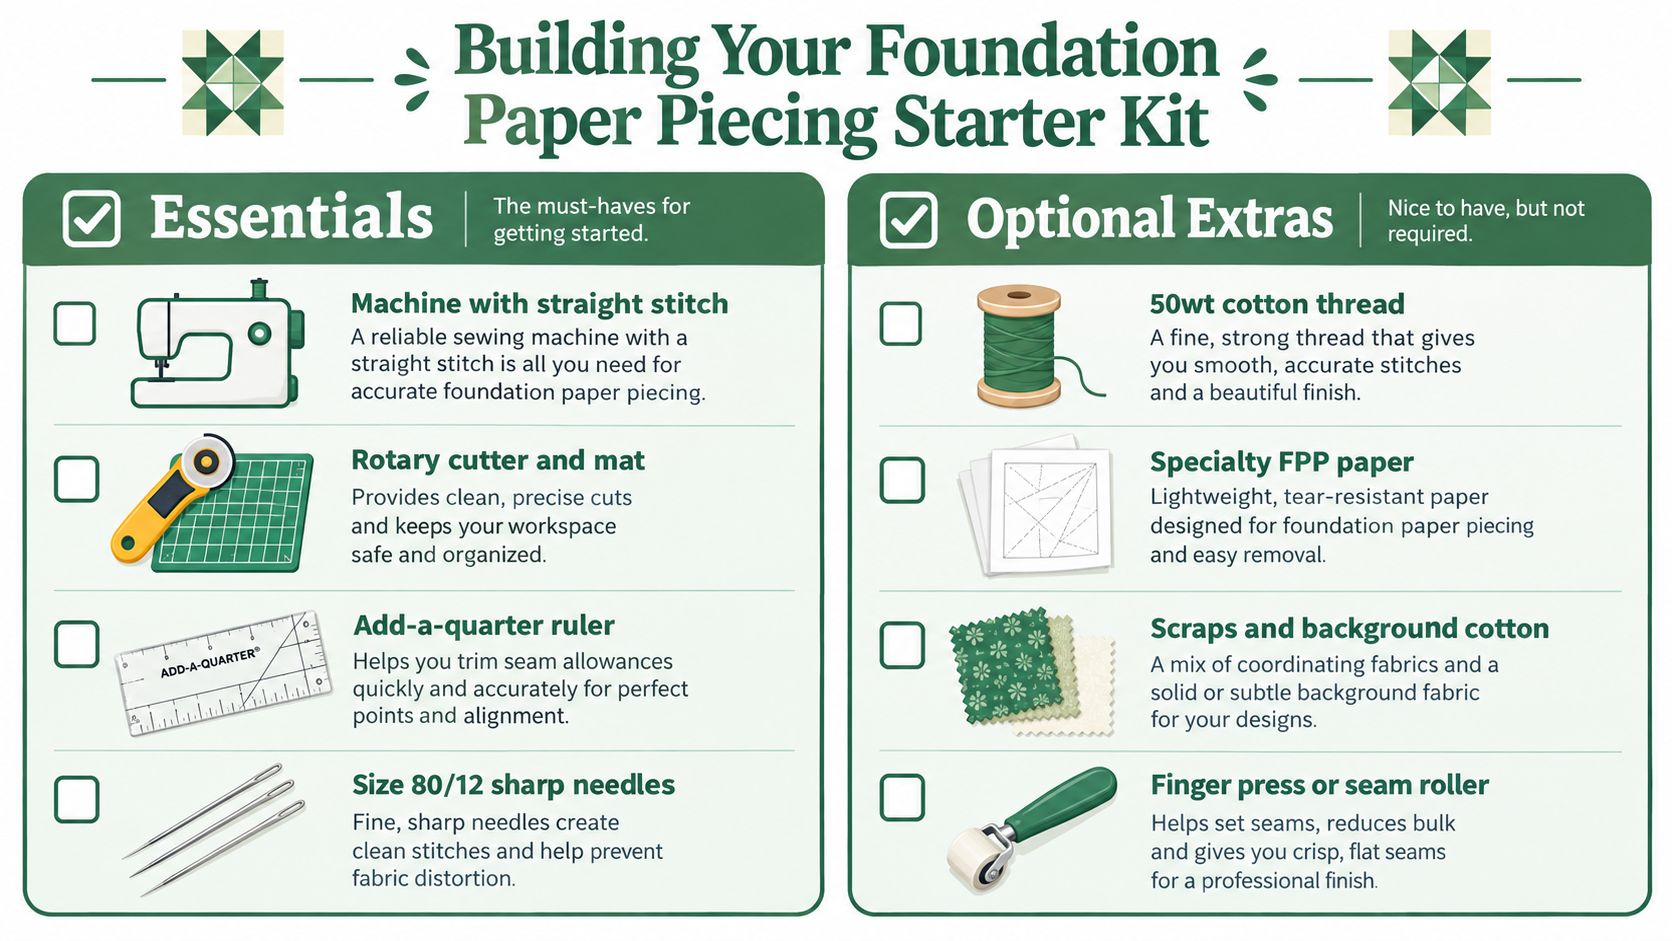
Essentials for your first blocks
- Specialty FPP paper: Choose lightweight paper around 70 gsm when easy folding and tear-out matter.
- Sewing machine: A straight stitch machine with adjustable stitch length is sufficient.
- Sharp needles: Keep 80/12 or 90/14 needles available, and replace them when they dull.
- 50-weight cotton thread: Use a smooth thread that lies flat inside the seam.
- Rotary cutter and mat: These protect accurate trimming and fabric preparation.
- Add-A-Quarter ruler: Use it to establish a consistent seam allowance after folding the foundation.
- Cotton fabric: Combine scraps with a stable background cotton that resists fraying.
- Pressing tool: A dry iron, small pressing mat, finger press, or seam roller keeps seams flat.
Optional extras that earn their space
A glue stick or adhesive pen can hold the first fabric piece without adding pin distortion. Fine pins help with larger sections, while a light box makes fabric placement easier when the pattern has many small regions.
A smaller rotary cutter can also improve control around compact foundations. Choose optional tools because they remove a specific bottleneck, not because a supply list says you must own them.
For a broader beginner setup, compare this guide to quilting supplies for beginners. QuiltKit.com carries ready-to-sew kits, quilting cotton, batting, thread, irons, sewing machines, and notions, so you can assemble a project around the tools you really use.
Troubleshooting Common FPP Problems and Solutions
Most FPP problems leave clues. A jammed needle, frayed edge, or stubborn paper usually points to a mismatch between the material and the process.
When the needle breaks or skips stitches
Stop sewing and replace the needle first. Paper increases wear, and a bent or dull needle can deflect, skip stitches, or strike the presser plate.
Check the stitch length next. A setting around 15–20 stitches per inch, or approximately 1.3–1.7 mm, creates dense perforations, but it also means the needle needs monitoring.
When fabric frays or seams distort
Use a tighter-weave quilting cotton and avoid pulling the fabric while pressing. If the cut edge is already shedding, trim it cleanly before adding the next piece.
A ruler that slips can create a narrow seam allowance or cut into the stitching. Slow down at each trim line and keep the paper folded firmly against the ruler.
When paper won't tear away cleanly
Lightweight paper is usually easier to remove than copier stock. Tear gently along the stitched line, supporting the fabric with your other hand rather than pulling upward on the seam.
Remove paper from the seam allowances as blocks are joined, but leave the foundation attached to the block body until the surrounding sides are sewn. For the final trim, use the same controlled approach described in this guide to squaring up quilt blocks.
Troubleshooting sequence: Change the needle, inspect the stitch length, check paper weight, then examine fabric coverage and trimming. Adjust one variable at a time.
Mastering FPP with the Right Supplies and Kits
Successful FPP depends on a chain of small decisions. Lightweight paper makes the foundation easier to fold and remove. A sharp needle and short stitch create controlled perforations. A precise ruler protects the seam allowance, while tightly woven cotton keeps the fabric stable through repeated handling.
The workflow is simple once each supply has a defined job:
- Print and inspect: Confirm the template scale, piece order, and seam allowance.
- Prepare the machine: Install a sharp 80/12 or 90/14 needle, select smooth cotton thread, and shorten the stitch length.
- Cut generously: Give each fabric piece enough coverage to extend beyond the intended seam.
- Stitch and trim: Sew on the printed lines, fold the paper, and trim with an Add-A-Quarter ruler.
- Press carefully: Keep the iron dry and press from the fabric side.
- Remove gradually: Tear paper from completed seams without pulling against the stitches.
For time-crunched makers, a ready-to-sew kit can reduce the sourcing and preparation work. For precision-focused quilters, buying paper, needles, thread, fabric, batting, and wideback materials separately gives more control over tension, loft, color, and stitch-definition.
QuiltKit offers curated quilt kits, modern solids, coordinated bundles, essential notions, Hobbs and Pellon batting, and wideback cottons up to 108 inches. You can also choose Ruby Star Society fabrics for contemporary color and pattern, or Kona Cotton Solids when a clean, tight-weave background supports geometric FPP points.
Keep your first project manageable, but don't underspend on the supplies that affect accuracy. The right paper and a fresh needle often make a more noticeable difference than adding another decorative notion.
Ready to build a cleaner FPP workflow? Visit quiltkit.com to explore ready-to-sew quilt kits, premium quilting cotton, batting, thread, and precision notions, and join the Email Sign-up Savings list if you're still comparing supplies before you buy.