


How to Bind a Quilt for Beginners
You've finished the piecing, quilting, and trimming. The quilt is draped over your arm, the raw edges curl slightly, and the last step suddenly feels more intimidating than the first. Binding is the folded fabric strip that wraps and protects the quilt's outer edge, turning a stack of raw layers into a finished quilt.
Learning how to bind a quilt for beginners is mostly about following the right order: measure, cut, join, press, attach, turn, and finish. I'll show you how to choose supplies, calculate binding for several quilt sizes, decide between machine and hand finishing, form crisp mitered corners, and fix the small problems that appear on almost every first quilt.
That Last Edge of the Quilt
A beginner often reaches binding with a quilt that already feels complete. The top has its blocks, the batting gives it body, and the backing holds everything together. Yet when you run your fingers along the perimeter, you can still feel the exposed layers and see why the edge needs protection.
Binding covers those layers with a folded strip of fabric. It also frames the quilt visually, so fabric choice matters. A solid Kona Cotton can give a modern quilt a clean edge, while a coordinated Ruby Star Society print can add a lively border-like finish without changing the quilt top.
Practical rule: Binding should lie close to the edge without pulling, rippling, or leaving raw batting exposed.
The process becomes much less mysterious when you treat it as a sequence rather than one large task. First, measure the finished quilt, then prepare enough strips to travel around the perimeter with allowance for joins and corners. Next, sew the strips together, press them into a long folded band, and attach that band to the quilt.
The final choice is how to secure the folded edge. Machine finishing is practical for frequently washed quilts and projects that need to be completed quickly. Hand finishing takes longer but can hide the final stitches and create a softer, traditional edge.
I've found that beginners usually struggle less when they stop trying to make every stitch perfect and start watching the fabric instead. Feel the edge under your presser foot, keep the layers flat, and slow down before each corner. A calm pace gives you more control than force ever will.
Gathering Your Binding Supplies
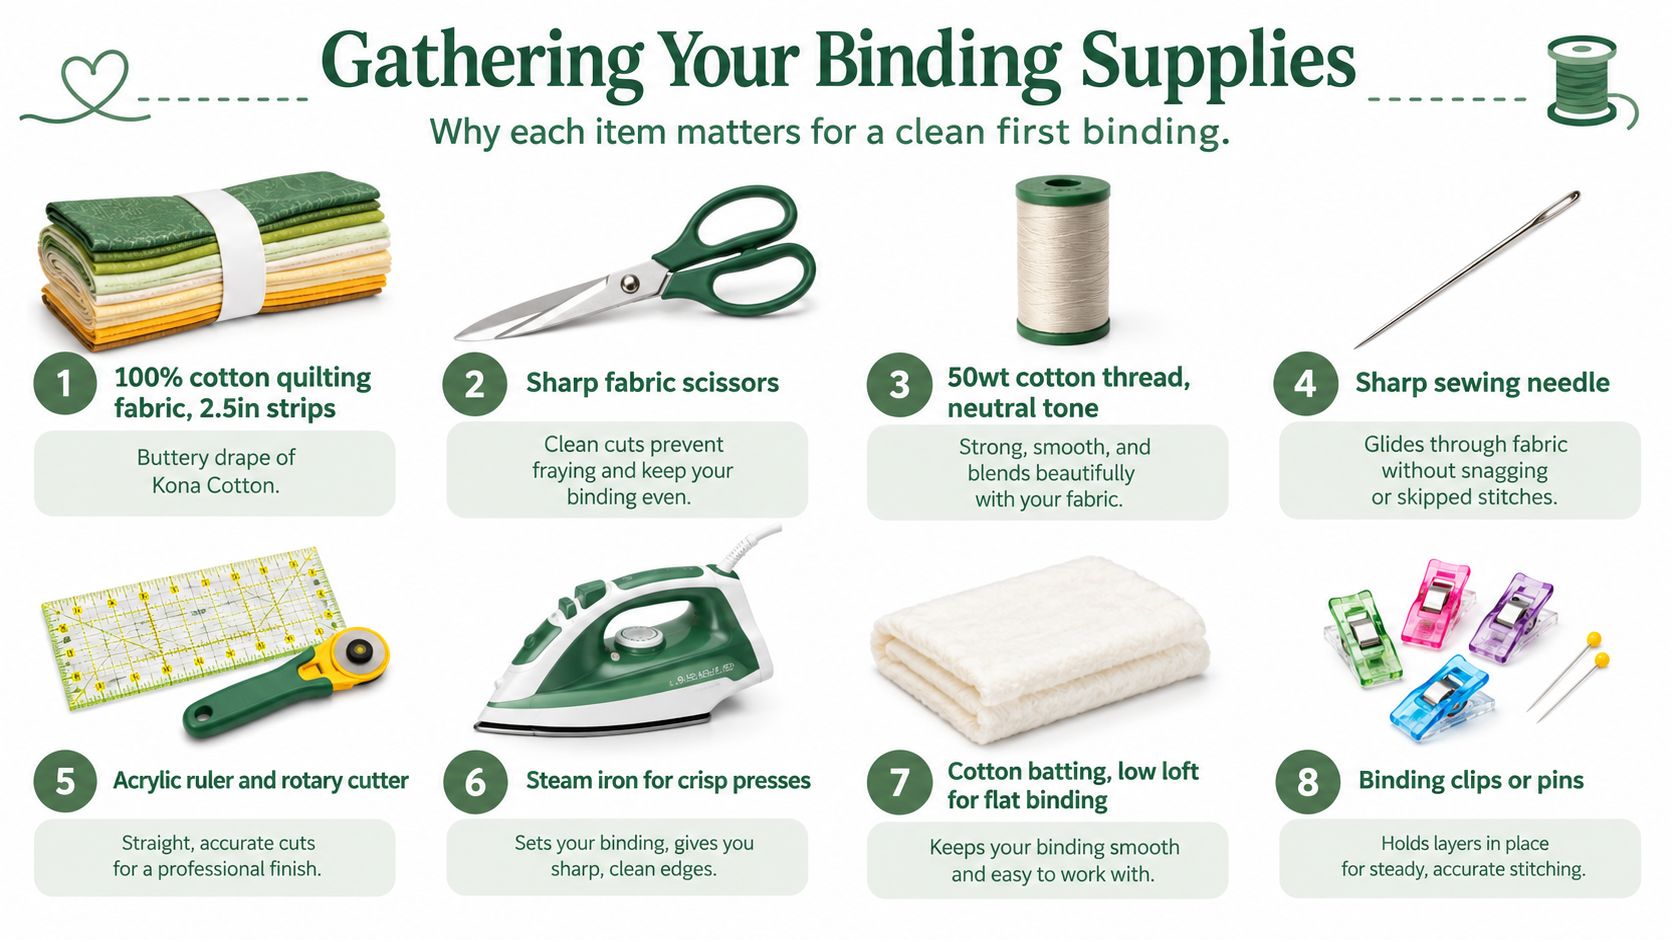
A clean first binding starts with tools that keep fabric flat and measurements visible. Gather these items before cutting:
- Quilt layers: A trimmed quilt top, batting, and backing should have even edges.
- Binding fabric: Choose quilting cotton with a firm weave and minimal fraying.
- Cutting tools: Use a rotary cutter, mat, and acrylic ruler for consistent strips.
- Marking tools: A washable fabric pencil helps mark diagonal joining lines.
- Stabilizing tools: Straight pins, wonder clips, and a washable fabric glue stick hold folds in place.
- Sewing tools: Keep a sewing machine, walking foot, sharp hand needle, and thread nearby.
- Pressing tools: A steam iron helps set the center fold and flatten joined seams.
- Thread and needle: A 50-weight cotton thread keeps binding stitches subtle, while a 90/14 needle handles the layered bulk where the binding meets the quilt edge.
Choose fabric that remembers a fold
A quilting cotton with a substantial, stable hand presses crisply and holds a crease. The buttery drape of Kona Cotton is pleasant to handle, while a tight weave makes it easier to keep the binding edge straight. Slippery satin and stretchy knits tend to fight the fold, shift under the foot, and make corners harder to control.
Batting affects the feel of the finished edge too. Low-loft cotton batting creates a flatter profile, while thicker batting can make the fold feel crowded. QuiltKit's beginner supply guide can help you organize the basic tools and materials in one place through its quilting supplies for beginners resource.
A 2½-inch strip is a widely used starting width for double-fold binding, and many quilters pair it with a ¼-inch attachment seam. If you're assembling a first project, a curated supply bundle can reduce color matching and cutting decisions. For fabric options, consider browsing QuiltKit's Kona Cotton and Ruby Star Society fabric collections for tightly woven quilting cottons with coordinated color choices.
Measuring Binding Strips by Quilt Size
Measure the finished quilt before cutting. Add the four sides, then include a 10-inch allowance for corner turns, joining seams, and a little handling room. Use that same convention for every size in the table. The Missouri Star Quilt Co. binding guide also demonstrates the perimeter-plus-allowance approach.
For strip planning, divide the working total by 40 inches of usable fabric width, then round up to the next whole strip. This conservative width leaves room for selvages and cutting accuracy. The strip count below assumes 2½-inch strips.
| Quilt Size | Dimensions (in.) | Total Perimeter + 10 in. | Binding Strips Needed (2.5 in. wide) |
|---|---|---|---|
| Crib | 45 x 60 | 220 in. | 6 |
| Lap | 50 x 60 | 230 in. | 6 |
| Twin | 70 x 90 | 330 in. | 9 |
| King | 100 x 108 | 426 in. | 11 |
A 45-inch by 60-inch crib quilt has a 210-inch perimeter. Add the 10-inch allowance, and the working total is 220 inches, which requires six strips when each contributes 40 usable inches. A 50-inch by 60-inch lap quilt has a 220-inch perimeter and needs 230 inches, also six strips.
A 70-inch by 90-inch twin quilt requires 330 inches after the allowance, so cut nine strips. A 100-inch by 108-inch king quilt requires 426 inches, which rounds up to eleven strips. These figures are planning estimates, so recheck the finished measurements if your quilt differs from the listed dimensions.
Cut across the crosswise grain for a practical balance of stability and flexibility. Join the strips with 45-degree diagonal seams. Press those seams open, which spreads the joined fabric rather than leaving one thick ridge beneath the binding. Use QuiltKit's guide to calculating fabric yardage when converting your strip count into a fabric purchase.
Choosing Machine Binding or Hand Finishing
The right finish depends on the quilt's job, not on a rule that every quilt must be completed the same way. Machine binding attaches the strip to one side, folds it around the edge, and secures it with a second line of stitching. A walking foot helps feed the quilt layers evenly and reduces the chance that the backing will drag.
Hand finishing attaches the binding by needle and thread, often with a blind hem or ladder stitch. The front can remain free of a visible topstitch line, and the folded edge has a soft, traditional feel. The trade-off is patience, especially on a large quilt.
| Factor | Machine Binding | Hand Finishing |
|---|---|---|
| Speed | Suits makers who want a fast finish | Requires more uninterrupted sewing time |
| Front appearance | Leaves a visible, controlled stitch line | Can keep the front visually uninterrupted |
| Durability | Practical for frequent washing and active use | Durable when stitches are secure and evenly spaced |
| Handling | Walking foot helps manage layered bulk | Needle and thread give close control at corners |
| Best fit | Baby gifts, donation quilts, table runners, and busy schedules | Show pieces, heirlooms, and quilts where hidden stitches matter |
For a baby gift, donation quilt, or quilt that will be washed often, I'd choose machine finishing because the edge is easy to reinforce and inspect. For an heirloom or show piece, hand finishing may be worth the extra time because the stitches can disappear into the fold.
A time-crunched maker can also machine-stitch the binding on both sides without treating the result as less meaningful. The handmade quality comes from your fabric choices, quilting, and careful handling, not from making every finishing step take the same amount of time. For help adapting your machine to quilt layers, see quilting with a regular sewing machine.
Attaching Binding and Mitering the Corners
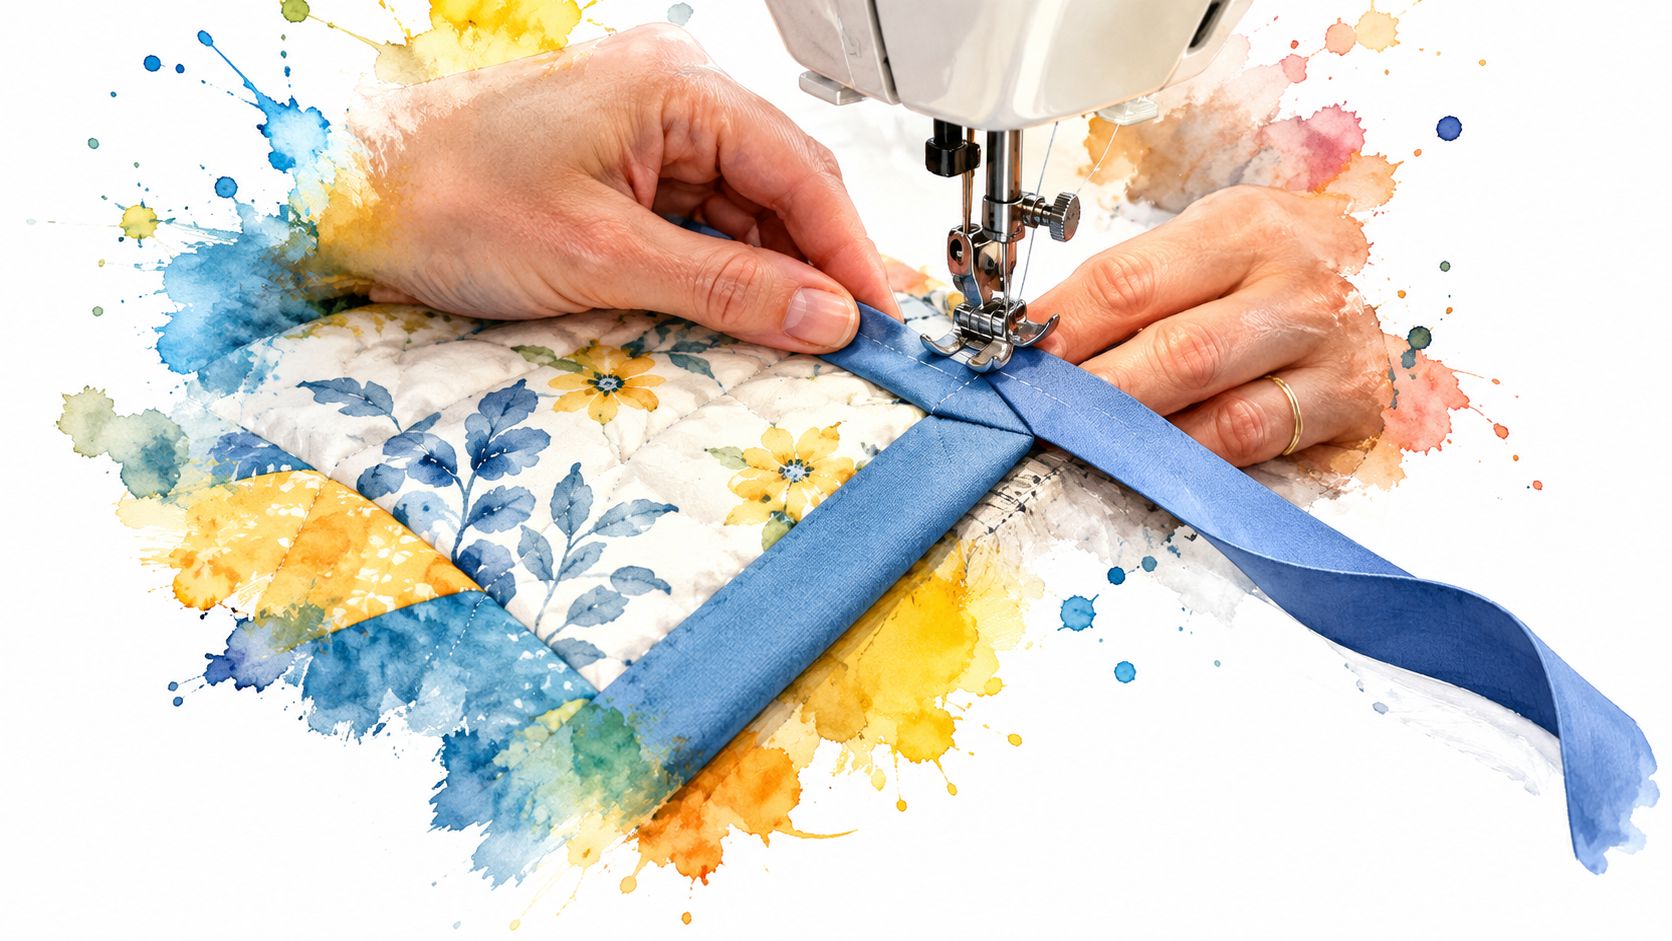
Start with the quilt flat and the binding folded in half lengthwise, with the wrong sides together. Leave a 6-inch unsewn tail, then align the binding's raw edges with the quilt's raw edge.
Attach the first side
Sew with a ¼-inch seam allowance, keeping the seam straight and consistent. Stop exactly ¼ inch before the corner, lower the needle, lift the presser foot, and pivot the quilt 90 degrees.
The corner fold creates the miter. Lift the binding straight up so it forms a triangle from the corner, then fold it back down along the next side. The raw edges should align again, and the diagonal fold should sit neatly across the corner.
Hold the fold with a clip or your thumb and continue sewing at ¼ inch from the edge. Pressing the binding away from the quilt after attachment helps define the crease before you turn it to the opposite side.
Close the binding loop
Continue around the quilt until the starting tail and ending tail meet. Overlap them at a 90-degree angle, mark a 45-degree seam line, and sew along it. Trim the excess fabric and press the joined seam open before closing the remaining gap.
At each corner on the finishing side, fold the binding into a compact miter and secure it before moving on. If you're hand stitching, use small, even stitches that catch the backing without traveling through to the quilt front.
A miter should look like a clean diagonal fold, not a gathered pinch. If the fabric resists, stop and refold before adding more stitches.
For a visual walkthrough of the corner sequence, use QuiltKit's guide to binding a quilt with mitered corners. You can also watch the process here:
Fixing Common Binding Mistakes
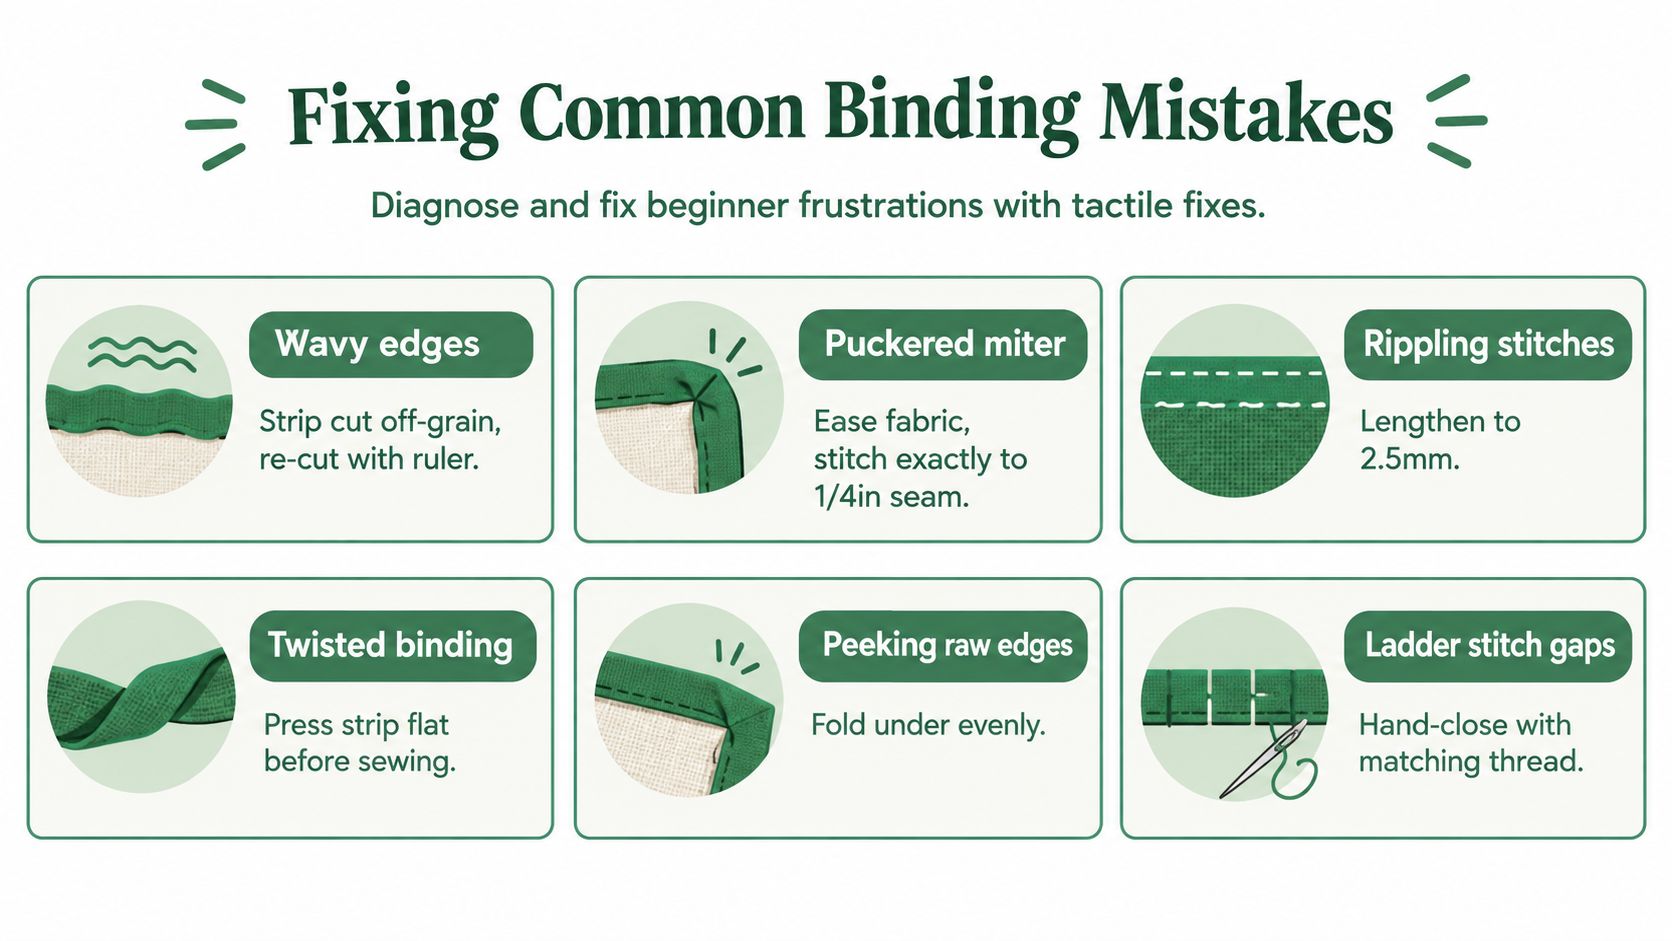
Most binding problems come from tension, alignment, or an inconsistent seam allowance. They're usually repairable without removing the entire binding.
- Wavy edges: Rippled edges often mean the strip was cut off-grain or the seam allowance drifted. Re-cut at 2¼ inches when appropriate, then sew with a steady seam guide.
- Puckered miters: A corner that pokes out may have an under-stitched fold. Unpick about four inches, make the triangle taller and sharper, and resew the diagonal.
- Tight hand stitches: If the binding bunches on the front or fails to reach the back, loosen your pull. A longer whip stitch with gentler tension lets the edge lie flat.
- Uneven joins: A strip join can look bulky when the diagonal seam is off-angle. Realign the marked 45-degree line with the strip grain and resew.
- Raw edges showing: Check that the folded edge extends beyond the attachment seam before securing the second side.
Use touch as your troubleshooting tool
Run your fingertips along the edge before trimming or unpicking. A smooth edge feels consistent, while a tight section feels corded or ridged. That tactile check tells you where the problem begins and prevents unnecessary repairs.
Keep a seam ripper, small scissors, and a chopstick beside the machine. The chopstick can push out a miter gently, but don't force the corner so hard that you stretch the fabric. Pressing, not pulling, is what gives the fold its shape.
Quick Wins and Where to Shop Next
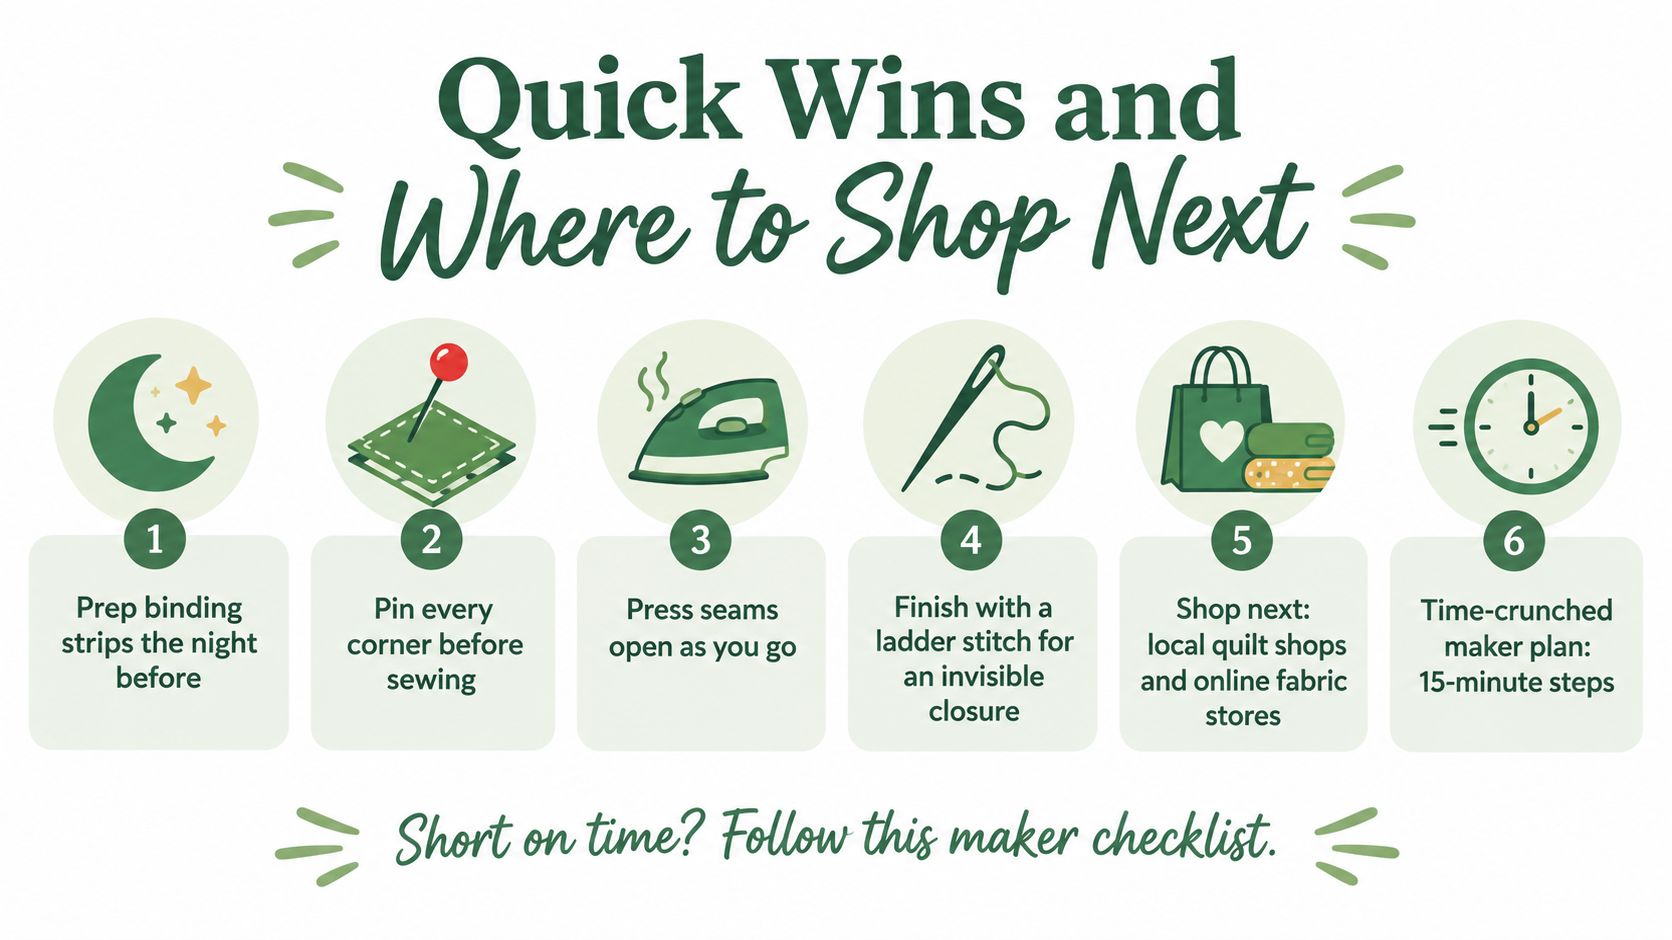
Busy makers can divide binding into short sessions instead of waiting for a large block of free time. Prepare the strips one evening, attach them another day, and finish the back while watching a familiar show.
- Prepare ahead: Cut and join the strips before you sit down to sew.
- Pin the corners: Place a clip at every corner so the miter fold stays visible.
- Press as you go: Open diagonal seams and press the binding fold before attachment.
- Choose the finish: Machine stitch when speed and laundering matter, or use a ladder stitch when you want a quieter front.
- Keep tools close: A walking foot, 50-weight cotton thread, sharp needle, and seam ripper prevent interruptions.
- Shop by workflow: Precut fabric rolls can reduce preparation time, especially when you're making a table runner or another small project.
For a ready-made cutting shortcut, browse QuiltKit's fabric strip rolls. You can also choose precut 2½-inch binding strips, 50-weight cotton thread, and a beginner-friendly hand-sewing needle set without rebuilding your supply list from scratch.
Finishing your first binding is a real milestone. If you'd like the next QuiltKit pattern and occasional Email Sign-up Savings, visit quiltkit.com to explore ready-to-sew kits, coordinated fabrics, batting, and the finishing supplies that make the next edge easier to complete.