


How to Make a Simple Table Runner in an Afternoon
You've set the table, arranged the plates, and noticed the center still looks unfinished. A simple table runner can change that quickly, especially when you choose the finished size before touching the fabric and use coordinated precuts instead of building a full quilt from scratch.
This guide shows how to make a simple table runner with straight-line piecing, optional batting, careful pressing, and a washable finish. You'll see where fat quarters, or pre-cut fabric pieces, fit in, and why a seam allowance, the fabric between the raw edge and stitching line, matters.
I've found that fabric handling tells you more than a label does. A tight weave stays steadier under the rotary cutter, while a loosely woven print may need extra pressing and careful pinning. Google's people-first content guidance specifically asks whether content demonstrates first-hand expertise, such as experience gained from using a product or visiting a place, so pay attention to what your own fabric does at the cutting table.
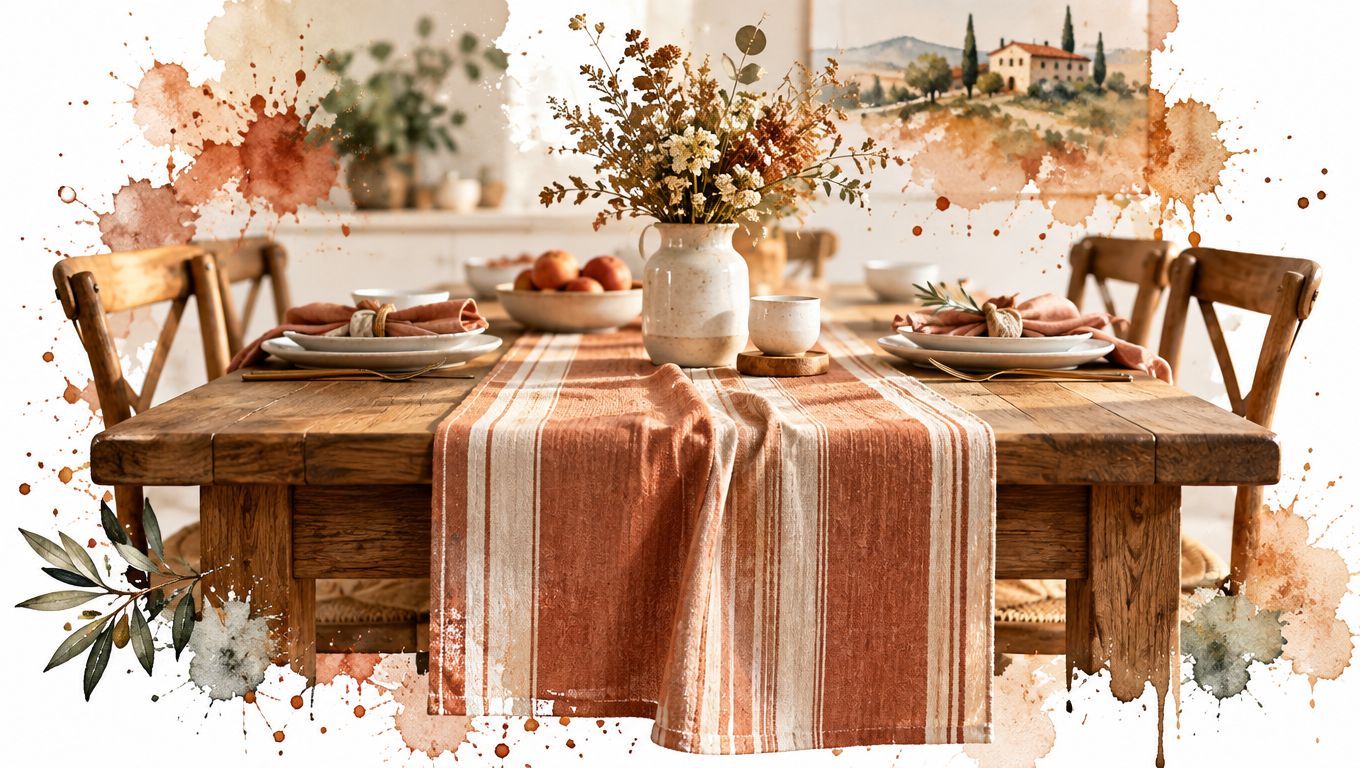
A ready-to-sew kit or a bundle of coordinated precuts removes much of the matching work. You can spend your sewing time on accurate seams, smooth quilting, and a neat finish. For additional beginner-friendly ideas, browse these simple table runner patterns before choosing your fabrics.
A Quick Runner You Can Finish Today
Start with the table, not the pattern. Measure the usable surface, decide whether you want an overhang, and then choose a kit, a few fat quarters, or yardage that suits that finished size.
A narrow runner can frame a vase or serving bowl. A wider one can support place settings, but it should leave enough room for plates, glasses, and chair movement.
The fast path for first-time makers
A practical workflow looks like this:
- Measure the tabletop. Record its length and width.
- Choose the finished runner size. Allow for overhang only if it suits your household.
- Prewash and press the fabric. Prepare it as you'll launder the finished runner.
- Cut the top, backing, and optional batting.
- Piece and press. Straight seams are enough for a polished design.
- Quilt and finish. Use simple lines, binding, or turned edges.
Straight-line piecing means joining fabric strips or rectangles with uncomplicated seams. It's a forgiving way to learn because the design depends more on accurate measuring than on complex blocks.
Beginner reminder: A small runner teaches cutting, seam control, pressing, layering, quilting, and finishing without asking you to manage a full quilt.
I like cotton with a firm hand for a first project because it behaves predictably under the iron. A smooth, tightly woven cotton generally gives cleaner edges and more stable seams than fabric that shifts while you sew.
The project also works well for a modern minimalist table, a seasonal centerpiece, a gift, or a collegiate tailgate table. Keep the design simple, then let the fabric carry the personality.
Choosing the Right Runner Size for Your Table
Measure the tabletop length from end to end and the usable width from side to side. If chairs, placemats, children, or pets make an overhanging runner inconvenient, plan a finished piece that stops inside the edges instead.
A common planning rule is to make the runner about one-third as wide as the table and add an overhang at both ends. Common finished widths are approximately 12 to 16 inches, or 30 to 40 centimetres, and widely used finished lengths include 36, 54, 72, 90, 108, and 120 inches. These ranges come from table-runner sizing guidance, but your place settings and centerpiece should make the final decision.
A simple measuring formula
Use this sequence:
- Finished width: Divide the usable table width by three, then adjust for placemats or serving dishes.
- Finished length: Measure the tabletop length and add the drop you want at each end.
- No-overhang option: Keep the runner within the tabletop when young children, pets, or frequent table movement make loose ends unsafe or annoying.
- Cutting size: Add the seam allowance required by your construction method to the finished dimensions.
For example, a 72-inch table can use an 84-inch finished runner when allowing a 6-inch drop at each end. If the finished runner is 14 inches wide and 108 inches long, a basic half-inch seam allowance calls for cutting approximately 15 by 109 inches, assuming joined edges or a simple hem.
| Table type | Finished width | Finished length |
|---|---|---|
| Narrow table | 12 inches | 36 or 54 inches |
| Dining table | 12 to 16 inches | 72, 90, or 108 inches |
| Large dining table | 14 to 16 inches | 108 or 120 inches |
| Coffee table | Measure for a balanced central strip | Choose length from the usable surface |
| Round table | Choose a central diameter or short runner length | Match the tabletop and centerpiece |
A round table may suit a short central runner rather than a long strip crossing the entire surface. An extendable table deserves special attention: measure it in both everyday and extended arrangements, then decide which setting matters most.
Keep place settings in mind before cutting. If the runner will hold only a centerpiece, a narrower width may look intentional. If it will sit beneath serving dishes, allow more usable surface around it.
What You Need From Your Kit and Stash
Set out your materials before cutting. A simple reversible runner needs prewashed cotton for the front and backing. A quilted version also needs batting between those layers. Choosing the finished size first keeps every later decision practical, from fabric quantity to batting thickness.
Wash and dry cotton the same way you plan to launder the runner. Then straighten the grain and press the fabric before measuring. Utah State University Extension's runner instructions recommend this preparation because it reduces surprise shrinkage that can distort a carefully measured piece.
Fabric and layer choices
- Feature fabric: Choose tightly woven cotton with a stable grain. Kona Cotton has a smooth hand and buttery drape, while Ruby Star Society prints offer stronger color and modern pattern scale.
- Precuts: Fat quarters are pieces cut from a quarter yard, often convenient for small projects. Strips and coordinated bundles reduce matching time.
- Backing: Pick cotton that supports the top without competing with the centerpiece. A wideback can avoid unnecessary joins on a long runner.
- Batting: Low-loft cotton or an 80/20 blend adds body and stitch definition. Leave it out for the flattest, easiest-washing result.
- Thread: Cotton or cotton-wrapped thread close to the fabric color helps disguise small variations in straight stitching.
- Notions: Gather a rotary cutter, ruler, mat, clips or pins, fabric scissors, seam ripper, iron, ironing surface, and sewing machine.
For batting choices and beginner tools, use this guide to quilting supplies for beginners. Keep the iron near the machine. Pressing controls the shape of each sewn unit, much like smoothing a map before folding it.
Compare batting by fiber content and loft first. A thin layer creates subtle texture, while thicker batting adds volume and can make a narrow runner less flexible. Check that the batting extends beyond the finished top according to your quilting method, then trim it after the layers are secured.
Stage your work
Place the fabric, pattern notes, cutting tools, thread, and pressing tools within reach. If you are using a ready-to-sew bundle, check that its pieces cover the finished size you selected. A kit may simplify cutting, but the table still determines whether the runner fits.
Before opening the fabric, confirm the washing instructions for every layer. Matching care requirements helps the finished runner remain practical after meals, spills, and regular laundering.
Piecing Quilting and Binding Without Stress
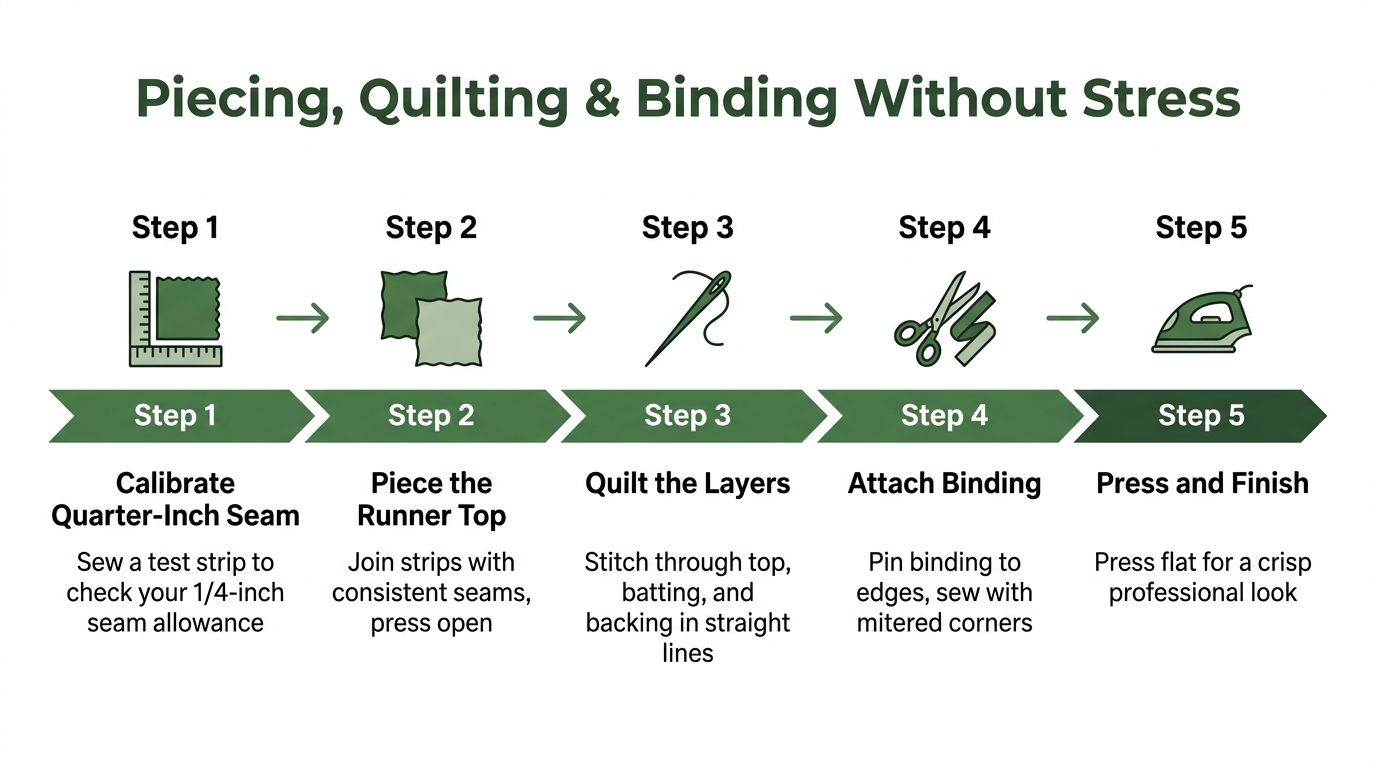
Begin with a machine test. Sew three 2.5-inch test squares end to end. With two quarter-inch seams, the finished test should measure 6.5 inches, as explained in Iowa State Extension's quilting guide.
If the test is short or long, adjust the needle position, presser-foot guide, or a strip of masking tape on the machine bed. Don't trust a quarter-inch mark until your test confirms it.
Build the runner top
Cut the rectangles or strips according to your chosen finished dimensions. Lay them on the floor or a design board before sewing so directional prints, light and dark values, and border widths appear balanced.
Sew the pieces with a consistent seam allowance. If two seams meet, press them in opposing directions so they can nest, meaning the seam allowances lie against each other and help the crossing points align.
Press after every seam:
- Set the seam. Press the sewn seam flat without opening it.
- Press the allowance. Send it in the chosen direction or open it.
- Press from the front. Flatten the completed unit without stretching it.
Pressing controls shape: If you skip it until the end, small distortions can become permanent. Immediate pressing keeps borders straighter and intersections flatter.
When I handle a tightly woven cotton, I can usually keep the cut edge crisp with light pressure and a sharp blade. A looser fabric may fray more readily, so I slow down, avoid dragging the ruler, and handle each strip by the center rather than the edge.
Layer and quilt
Place the backing right side down, add the batting if you're using it, and place the runner top right side up. Smooth from the center outward, then baste with pins, clips, or temporary spray suitable for your fabric.
Straight-line quilting is enough for this project. Stitch along the seams, across the length, or in a simple evenly spaced grid. Keep the walking pace steady and check thread tension on a scrap first. Dense quilting adds stitch definition but can make the runner firmer, so choose a spacing that suits the drape you want.
You can find a ready-to-sew option through QuiltKit's table-runner kits, pair the top with 108-inch wideback cotton, and choose coordinated quilting thread when you want the sourcing handled in one place.
Finish the edges
Trim the quilted layers so all edges are even. For a binding finish, attach strips around the perimeter and form neat mitred corners. For a reversible runner, sew the layers right sides together around the edges, leave an opening, trim each corner diagonally to reduce bulk, turn it right side out, push out the points, and topstitch the opening closed.
Read this practical guide to binding a quilt with mitred corners before attaching the strips.
Use these final checkpoints:
- Grain alignment: Make sure the long edges haven't bowed before quilting.
- Equal borders: Compare both sides before sewing the final seam.
- Matching points: Align end points and crossing seams with pins or clips.
- Flat layers: Smooth backing and batting before stitching.
- Secure ends: Backstitch or lock the opening and binding joins.
Batting and Care Choices for a Washable Runner
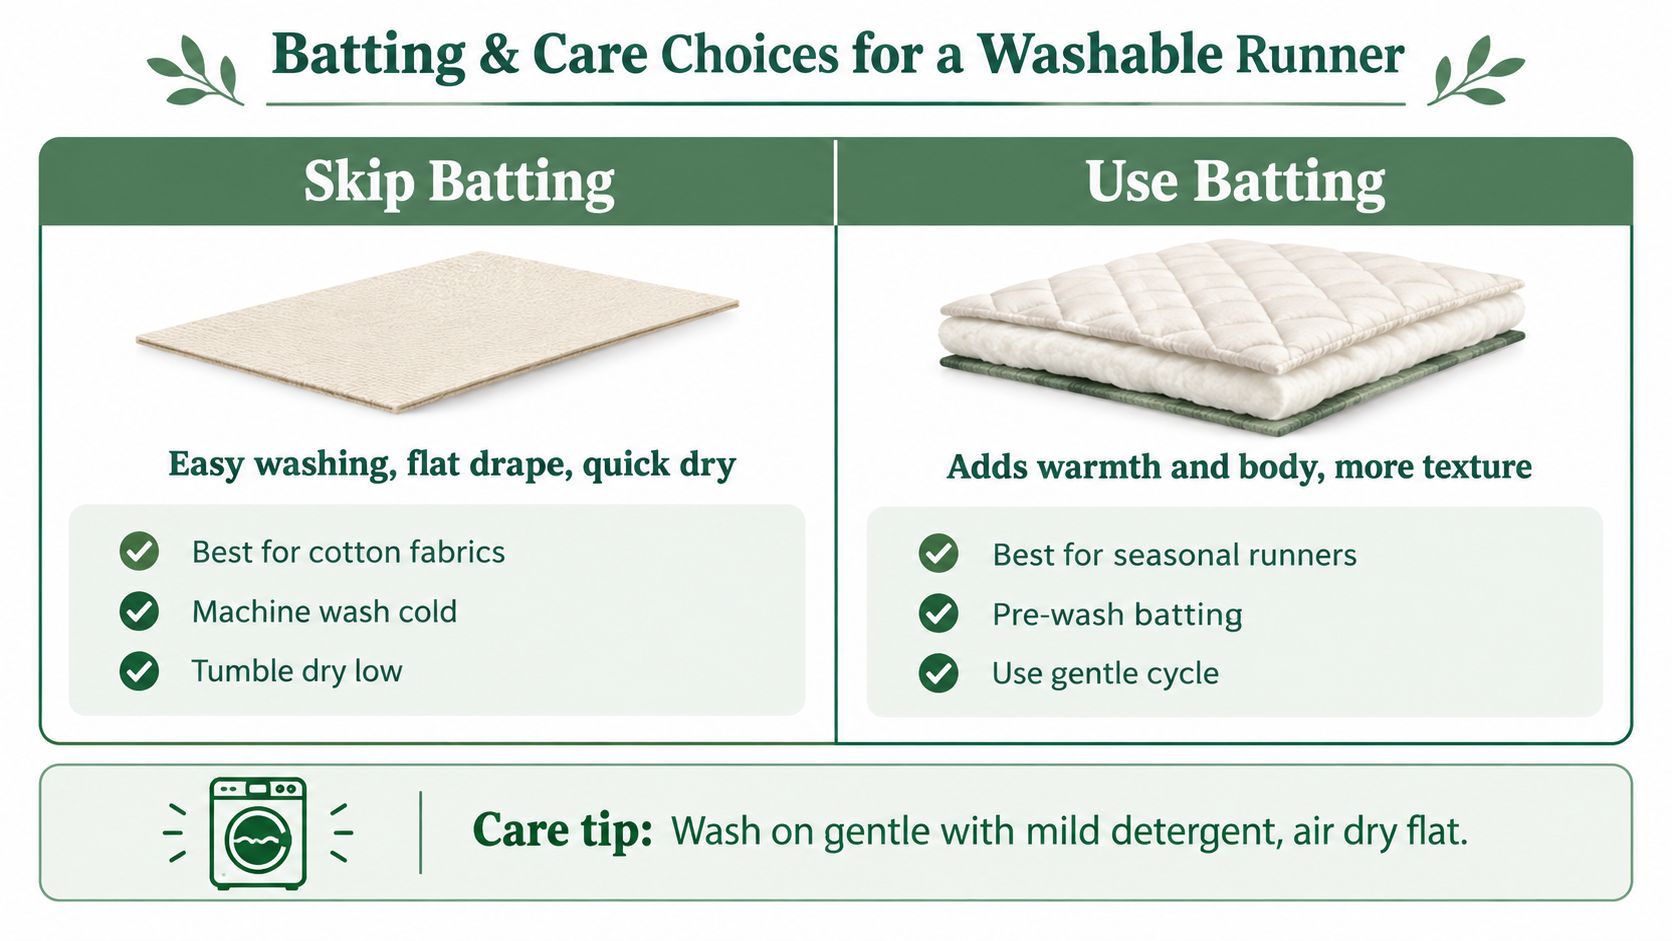
At the cutting table, decide how the runner should feel before layering it. Skip batting for a thin, flexible runner that washes easily and folds into a small space. Use low-loft batting for added body, texture, protection, and stitch definition. Cotton batting, fusible thin batting, and low-loft blends each change the runner's drape, stability, and care needs.
Choose by use
| Construction | Best fit | Result |
|---|---|---|
| No batting | Everyday dining and flat storage | Lightweight and flexible |
| Thin cotton batting | A softly quilted presentation | Moderate body and texture |
| Low-loft blend | Stable quilting and clearer stitches | More structure |
| Fusible thin batting | Quick layering for a small project | Convenient placement |
Use open quilting if you want the runner to bend easily over a narrow console or coffee table. Closer quilting gives food-prone areas more stability, though the extra stitches make the finished piece firmer.
Before cutting the full runner, wash a scrap when the fabric has strong colors or a dark print. Check for bleeding, changes after pressing, and distorted edges. This small test can prevent surprises after the layers are joined.
Research on laundry conditions reports that 48% of participants choose cold washing, and that cold washing can reduce fiber erosion, microfiber release, and color loss. The same research models environmental impact varying from 5.09 mPt for a 40°C wash using 5 g/L detergent to 12.8 mPt for 40°C using 20 g/L detergent. See the laundry-impact research for those findings.
Use this care routine:
- Wash gently: Choose a cold, gentle cycle with mild detergent.
- Dry carefully: Air dry flat when possible, or select low heat suited to the fabric.
- Press safely: Test the iron on a scrap, then press with the grain.
- Store flat: Fold along quilting lines instead of crushing bulky corners.
For a washable natural-fiber option, see this guide to 100% cotton batting and compare its drape with your chosen backing.
Seasonal Variations and Your Next Quick Project
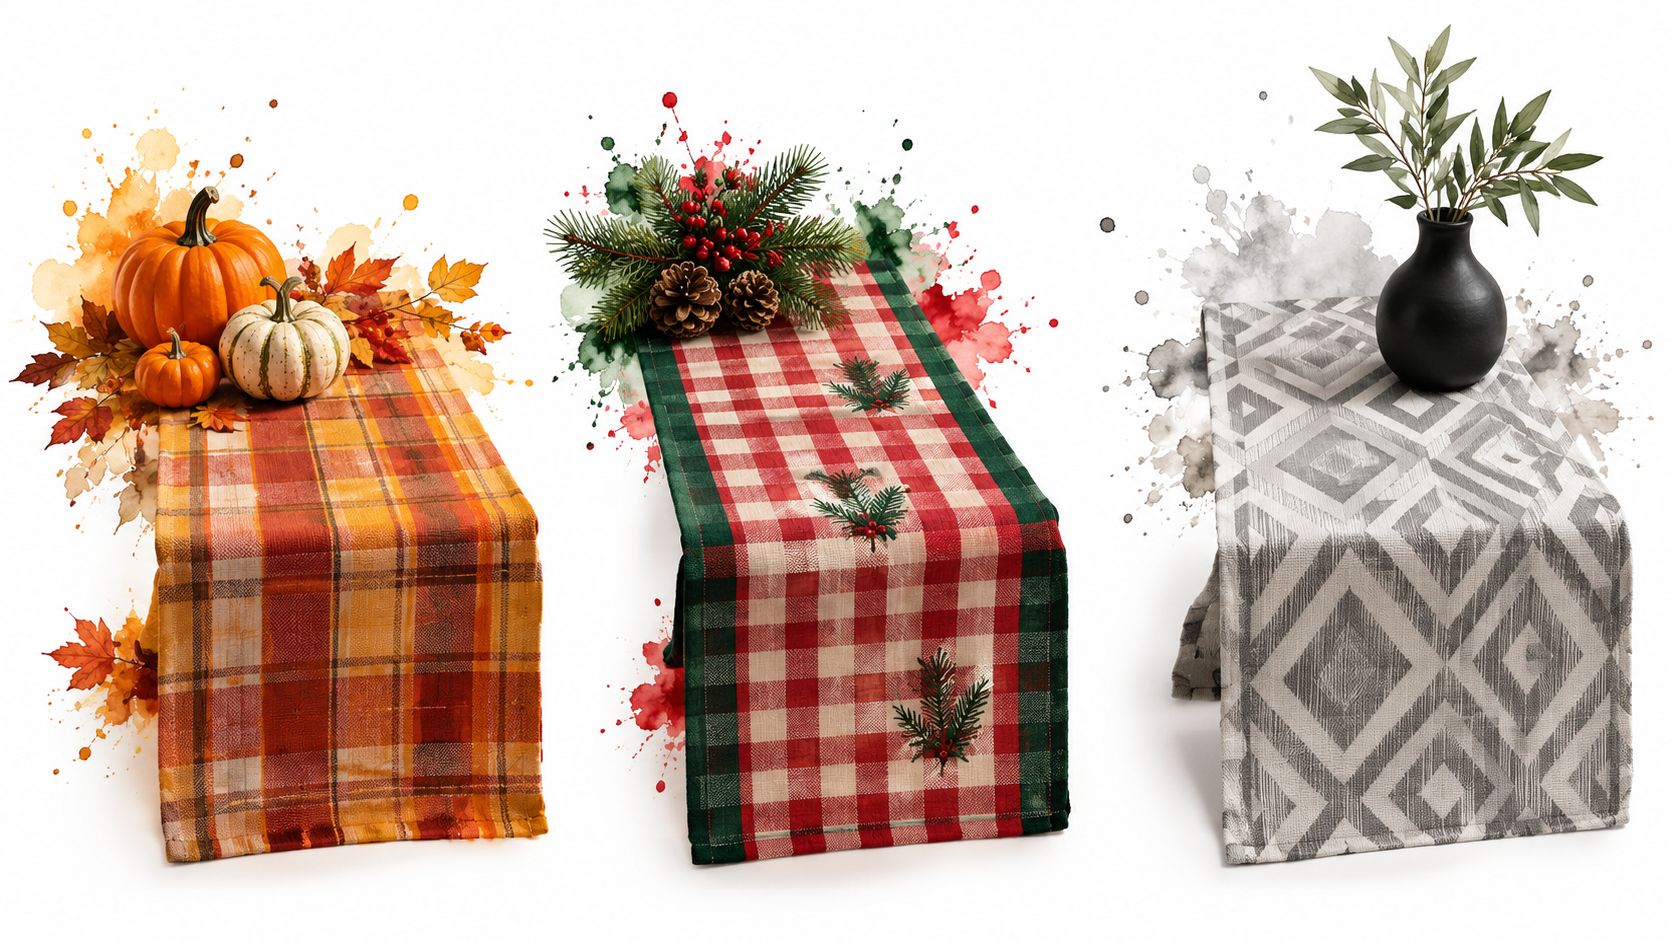
Once you've made one runner, the same size-first method supports several styles. A fall version can use pumpkin or leaf motifs, a Christmas runner can rely on red, green, or plaid precuts, and a minimalist version can use grey, cream, or charcoal solids with straight quilting.
Three easy directions
- Autumn table: Pair a warm solid with a small-scale seasonal print. Keep the quilting open so the runner remains flexible for everyday meals.
- Christmas setting: Use coordinated red and green strips, then add a contrasting binding for a clear edge.
- Modern or collegiate table: Choose geometric panels, modern solids, or a tailgate fabric panel. The sturdy construction works for gifting, game-day décor, or a dorm-room table.
Table runners have a long decorative history. An Illinois State Museum runner brought from Virginia in 1818, the year Illinois became a state, features woven biblical scenes including the Last Supper, as documented in the museum's history of the table runner. A small contemporary runner carries that same household role in a more approachable format.
For the next project, change only one variable at a time. Keep the dimensions and construction familiar, then try a different color family, backing, quilting pattern, or edge finish. That approach helps you identify what you enjoy without turning every project into a new technical challenge.
Explore fall table runner patterns when you want a seasonal starting point, or choose a coordinated kit for repeatable cutting and piecing. Quilt guilds and classroom groups can also use the same runner dimensions with different fabrics, making the project easy to teach and personalize.
If you're still deciding, these questions may help:
People Also Ask
What fabric is easiest for a simple table runner?
A stable, tightly woven quilting cotton is a friendly choice. It cuts cleanly, presses predictably, and handles straight seams without demanding complex fabric control.
Should a table runner have batting?
Not always. Skip batting for a flatter, lighter runner, and choose low-loft batting when you want more body, texture, or protection.
Can a table runner be made without binding?
Yes. Sew the top and backing right sides together, trim the corners diagonally, turn the piece right side out, press the edges, and topstitch the opening closed.
How wide should a table runner be?
Use the table's usable width as your starting point. A finished width of approximately 12 to 16 inches is common, but place settings, serving dishes, and household safety should guide the final choice.
Is a ready-to-sew kit suitable for a beginner?
Yes. A coordinated kit can reduce fabric matching and preparation, leaving you to practise measuring, pressing, seam control, quilting, and finishing.
QuiltKit offers ready-to-sew kits, coordinated precuts, quilting fabric, batting, wideback cottons, thread, and tools for projects like this simple table runner. Visit quiltkit.com to choose a seasonal kit or assemble washable layers for your table, and look for Email Sign-up Savings if you're building a project stash gradually.