


Charm Squares for Quilting: A Complete Beginner Guide
A charm square is a 5-by-5-inch precut cotton square, most often sold in packs of about 42 coordinated prints, and once you sew it with a quarter-inch seam, that unit finishes at roughly 4.5 inches before it becomes part of the larger quilt. If you're holding your first pack and wondering whether those little squares are enough to make something real, the answer is yes, as long as you plan with sewn size, not package size.
Most beginners meet charm squares the same way. You spot a stack of coordinated prints tied up neatly, you love the colors, and then the doubt starts. Are they too small, too limiting, or too precious to cut into? I've watched that hesitation at the quilt-shop shelf many times, and I've felt it too. Once you understand what these precuts are designed to do, they stop feeling like a mystery and start feeling like one of the easiest ways into patchwork.
Charm squares for quilting work especially well for small quilts, table runners, baby gifts, four-patches, and quick grid layouts because they remove the first hurdle, cutting. They also give beginners a manageable planning unit. One coordinated pack can get a small project moving, and more than one pack can scale up cleanly when you want a larger quilt.
What Charm Squares Are and Why Quilters Love Them
A first-time charm-pack buyer often turns the bundle over, looking for yardage information, then spreads the squares across the cutting table. The practical questions come quickly: What can I make from this, and will these fabrics work together?
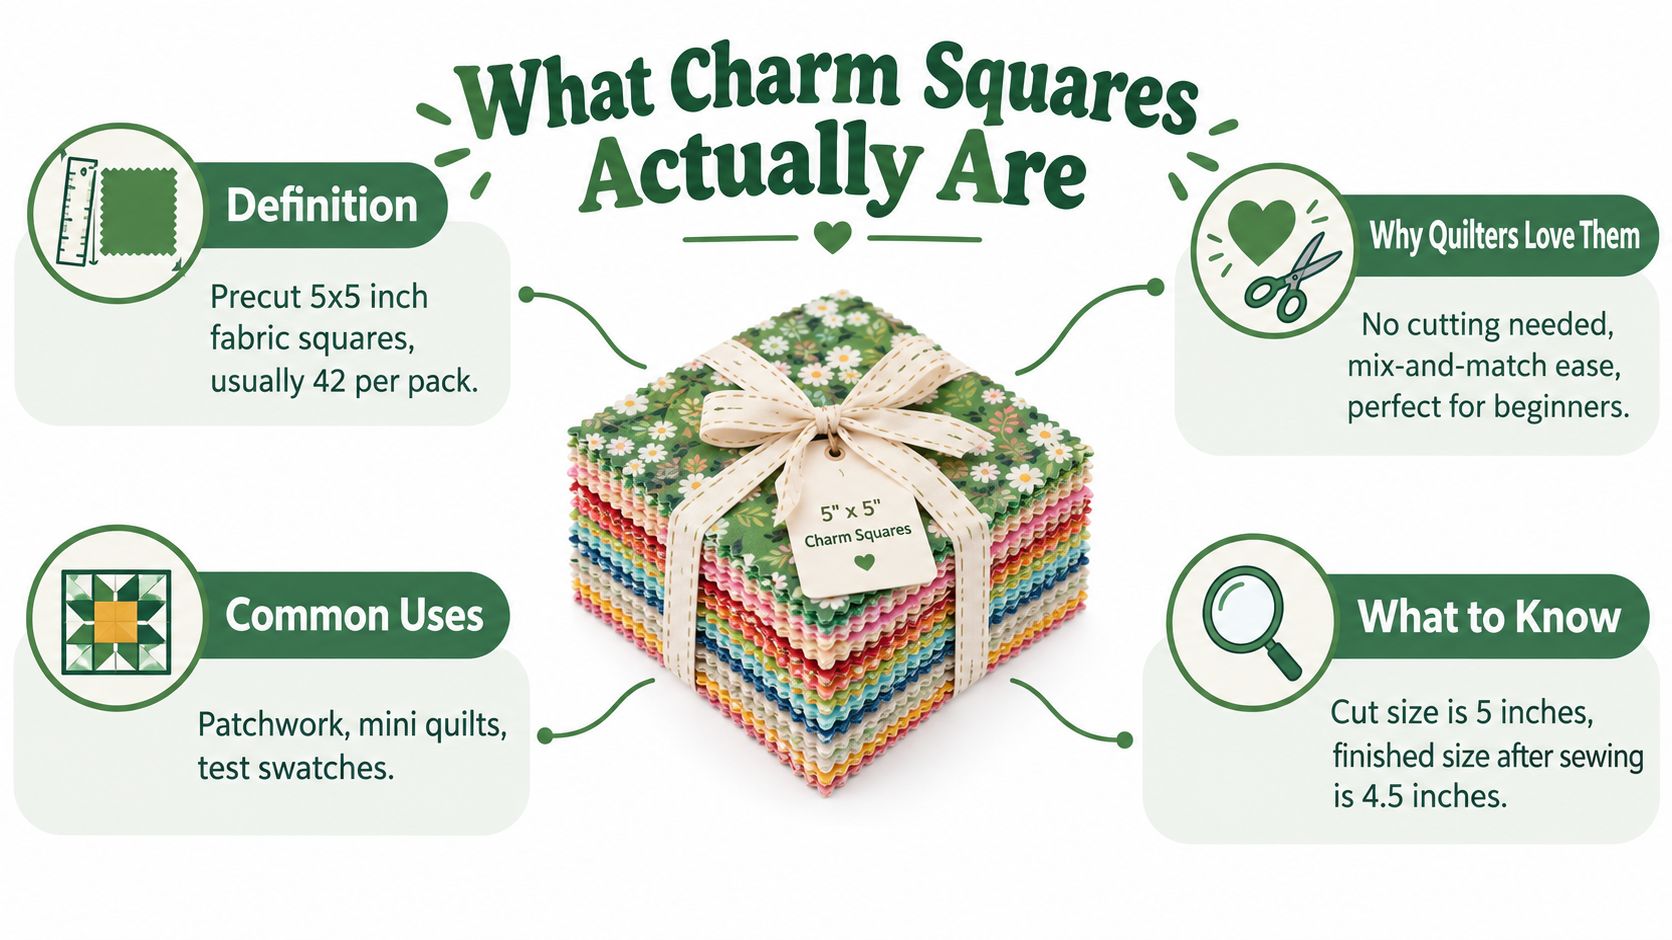
A charm square is conventionally a 5-by-5-inch precut fabric piece used for patchwork. The modern retail format is commonly a charm pack containing 42 squares, although counts vary by maker. Early commercial packs often offered one 5-inch square from each print in a coordinated collection, adding repeats when a collection contained fewer prints. That format is closely associated with Moda's introduction of the commercial charm pack roughly 15 years before a 2024 overview. Other brands later adopted similar products under names such as 5-inch Stackers (Diary of a Quilter's charm square overview).
Why the format stuck
Charm squares remove two early obstacles: cutting a stack of matching pieces and choosing fabrics that already coordinate. A ready assortment makes the traditional charm-quilt idea easier to start, particularly for beginners or anyone sewing in short sessions.
There is also a useful handling advantage. Lay the pack on a table, sort lights from darks, and audition possible layouts before cutting anything. The squares give you a fixed planning unit while leaving room for your own choices. You can preserve a favorite print, rotate a directional design, or trim an imperfect edge before it affects the whole block.
That last point matters in real sewing. Precuts are convenient, but they are not always perfectly square. Check the edges before piecing, and watch for loose threads or fraying, especially with softer cottons. Accurate quarter-inch seams depend on a stable starting edge, so a quick inspection can prevent a growing mismatch across a row.
What they're good for
They work particularly well for:
- Beginner patchwork, because the pieces are ready to arrange and sew
- Table runners and baby quilts, where a small, coordinated project is practical
- Scrappy blocks and test layouts, because one collection supplies variety without visual chaos
- Ready-to-sew kits and bundle planning, since precut sizes follow familiar category standards (precut square guide from QuiltKit)
A charm pack is a preplanned palette in a manageable working size. Before sewing, count the squares you can use. Set aside pieces with frayed or skewed edges, reserve directional prints for layouts that need orientation, and allow extra squares for fussy cutting. The package count is your starting inventory, not the final number of usable units.
Charm squares remain popular because they reduce cutting, simplify color selection, and make a first patchwork project feel attainable without requiring a large yardage purchase.
Cut Size vs Finished Size and the Seam Math That Matters
A charm square looks simple on the table, until you sew it into a block and the math changes. The size you cut is not the size you see in the finished quilt, because every seam takes a little fabric.
A typical charm square is 5 × 5 inches, or 12.7 × 12.7 cm, and it is often sold in coordinated packs of about 42 pieces. Sew it with a conventional 1/4 inch seam allowance on all sides, and that square becomes a 4.5 × 4.5 inch unfinished unit. Joined into the quilt top, that unit finishes at 4 × 4 inches (QuiltKit's precut square sizing guide).
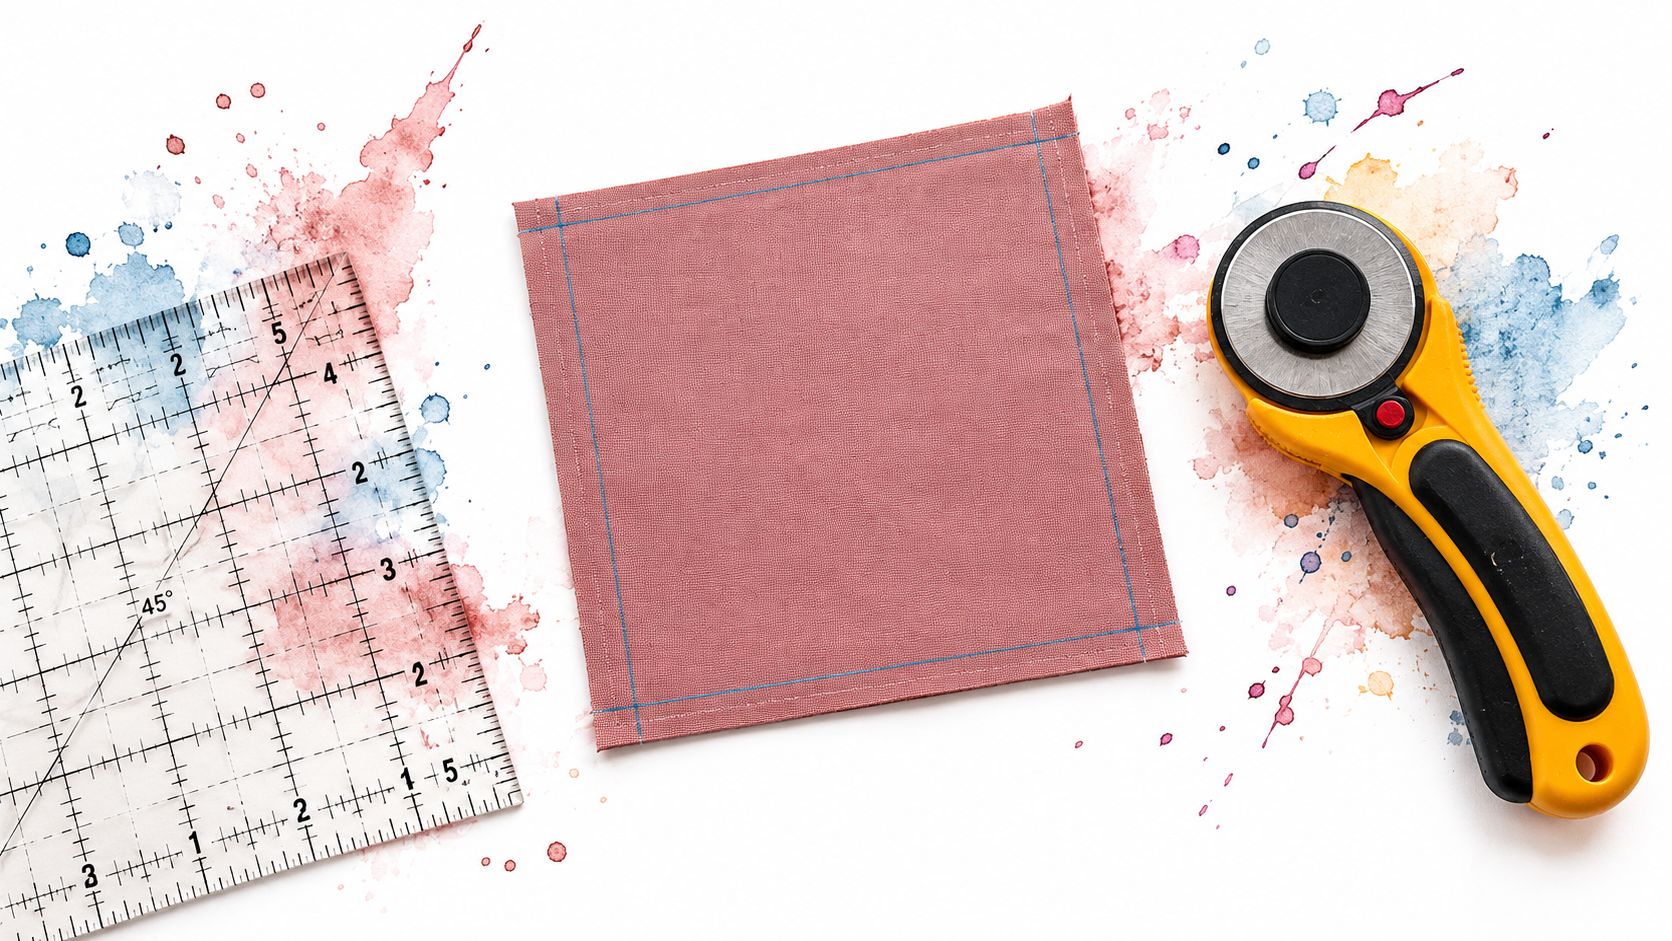
A square on the cutting mat is like a promise. The quilt only keeps the part that survives the seams.
The example that makes this click
Lay out 8 squares across, and it is easy to assume the quilt will measure 40 inches wide, since 8 × 5 = 40. Once those squares are sewn together, the finished row is about 32 inches wide, because the seams use up the space between units. That is the kind of math that surprises first-timers and changes a project.
Here is the planning language that keeps the numbers straight:
- Cut size is what comes out of the pack
- Unfinished size is what the unit measures after sewing, before it joins the next unit
- Finished size is what shows in the completed quilt top
A charm square pack is a starting inventory, not a guarantee of usable blocks. In real sewing, some pieces need to be trimmed because the edges are not perfectly square. Directional prints may need to be set aside for rows that face the same way. Fussy cutting can also reduce the count, because you may center a motif and trim away the extra fabric around it. If you plan with those losses in mind, your square count becomes more realistic before the first seam goes down.
The habit that prevents wavy rows
Sew two squares together before you chain-piece a whole stack, then press and measure the result. If the unit is off, adjust your seam guide before you keep going. Small seam-width errors build up across many short seams, and the result can be rows that do not match, ripple, or refuse to meet cleanly at the border.
A sample first saves unpicking later.
Tighter quilting cotton usually gives you a steadier edge to work with than softer, looser cloth. When the weave holds its shape and the corners stay square, it is easier to keep a true quarter inch. If your first rows seem to grow or shrink, check the seam width, then check whether the precut edges are square and whether any corners are fraying. That quick inspection often explains the problem before the whole block drifts out of line.
If you want to move from straight squares into triangles, start with making half-square triangles from precuts.
Turning Charm Squares into Half-Square Triangles and Four-Patches
A charm square stack can do more than fill a simple grid. It also gives you clean starting pieces for four-patches and half-square triangles, two block types that teach new quilters a lot about accuracy, pressing, and fabric behavior.
Four-patches are usually the easiest place to begin. With four 5-inch squares, you can make a block that finishes at about 8 inches finished and measures about 9 inches unfinished. That finished-size math is one reason charm squares feel so efficient, because small pieces can become a much larger block without yardage right away (Quilt Keeper Studio's precuts guide).
Four-patches first
A four-patch is a good practice block when you want quick progress and clear seam work. Pair squares with enough contrast that the checkerboard still reads after stitching. Busy prints can blur together, so I usually set a print beside a calmer fabric, or use two prints with clearly different value.
A simple approach works well:
- Lay out all four squares first so you can catch low-contrast combinations early
- Sew pairs into rows and press the seams the same way each time
- Match the center seam carefully so the corners meet cleanly
When beginners wonder why the middle intersection will not line up, the issue is often value, not skill. If the fabrics look too similar, the seam can disappear before the block is sewn, and the mismatch becomes harder to see.
Half-square triangles need gentler handling
Half-square triangles ask for a lighter touch. The diagonal seam creates bias edges, and bias stretches more easily than straight grain. If you pull the unit while feeding it through the machine, the edges can shift just enough to make the points look crooked later.
I handle charm-pack HSTs with a slow routine because it keeps the points under control:
- Mark the diagonal on the lighter square before sewing
- Sew carefully and avoid tugging while feeding the pair through the machine
- Use a walking foot when joining bias edges if the fabric wants to shift
- Trim every unit to a common size after pressing so small size differences do not spread across the quilt
Bias edges do not forgive rough handling. If a triangle unit looks slightly off, trim it before it joins the next seam.
I have also seen some charm packs fray more at the corners than others, and that matters more with triangles than with plain squares. A tighter weave usually gives cleaner diagonal edges and steadier piecing. Before I make a full batch, I inspect one sample square and one test unit. If the pack seems uneven in size, trimming becomes part of the process, not an optional cleanup step.
For beginners, the most repeatable setup is a simple grid layout plus a trimming checkpoint. That keeps the project moving and protects your points from small errors that would otherwise stack up.
How Many Charm Squares to Buy for Real Projects
The grid math is the easy part. You sketch the layout, count the squares, and feel confident. Then you start sewing, and the count shrinks. A square gets trimmed crooked. A directional print only looks right one way. Two prints that seemed distinct in the stack read as the same fabric once spread across the design wall. The smarter question is how many usable squares you'll have after trimming, color sorting, directional prints, and the occasional mistake.
One calculator-based guide suggests adding about 5% for trimming and mistakes, 10% for color placement, up to 15% for directional prints, and up to 20% for fussy cutting (Lea Louise's charm-square planning guide). Not every project needs every allowance. The point is that a charm pack's printed count is not always the same as your real design count.
Why a 42-piece pack may not behave like 42 equal units
A standard pack is often sold as 42 squares, but as noted earlier, some of those prints repeat, some read too similarly once spread out, and some directional motifs only look right one way. When I open a pack at the cutting table, I sort before I plan. I pull the near-duplicates, set aside the squares that only work in one orientation, and count what remains. That number, not the number on the label, is what I design with.
So I never tell beginners that one pack equals one project. I tell them to plan in two layers:
- Grid count first, using finished size
- Usable count second, based on the fabric collection and design style
If you're using simple patchwork with non-directional prints, the loss is modest. If you're featuring motifs carefully or keeping a balanced color rhythm, your effective count drops fast.
A simple buying formula
Use this order:
- Calculate the ideal number of finished grid units
- Add an allowance based on the project style
- Convert that total into packs of 42 squares
For a straightforward grid, start with the ideal count and add a modest allowance if you know you'll trim or want backups. For directional or fussy-cut projects, buy more breathing room rather than gamble on perfection from a single pack.
| Finished Project Size | Ideal Grid Squares | With ~10% Waste Allowance | Packs to Buy (42 sq) |
|---|---|---|---|
| 32 × 40 in | 80 | 88 | 3 |
| 16 × 40 in | 40 | 44 | 2 |
| 24 × 24 in | 36 | 40 | 1 |
That table uses the 4-inch finished unit established earlier, since joined charm squares finish at about 4 × 4 inches in the quilt.
Buying shortcut: If the layout matters as much as the sewing, the extra pack is usually cheaper than the frustration of running short on matching prints.
If you want to compare charm-square counts with other planning methods, a fabric-estimating guide like this yardage calculation resource helps translate project size into a fuller materials plan.
Best Fabrics and Brands for Charm Square Quilts
At the cutting table, a charm pack can look perfect until you separate the stack. One square keeps a crisp edge, another curls slightly, and a third begins fraying at the corners. Those small differences matter once you are matching seams and pressing blocks flat.
How different fabric lines feel at the machine
Kona Cotton solids are a dependable starting point for stable piecing. The weave feels tight and steady, giving the fabric enough body for accurate seam placement while retaining a buttery drape after pressing. That balance works well beside a busy charm pack or as a quiet background for brighter prints.
Ruby Star Society prints suit modern quilts, with bold color stories and collections that combine readily with solids. Their designs often separate clearly by value, which helps when you are arranging half-square triangles or checkerboard blocks. Before cutting, place the squares side by side in grayscale or squint at them. Similar values can disappear after sewing, even when their colors look different.
Marcus Fabrics offers traditional and themed prints for classic patchwork. Small florals, shirtings, and heritage-inspired palettes can give a quilt an older, collected character without requiring unrelated bolts to match.
Beginners may also encounter Choice Fabrics, P&B Textiles, and Blank Quilting. These names can be useful when you want coordinated colorways across a collection. A consistent line makes sorting easier, especially when you are choosing prints for a repeated block rather than improvising every unit.
What to inspect before buying
Handle the stack if you can. Look for:
- Corners that resist fraying when the squares are separated
- Edges that stay square rather than bowing or curling
- A tight weave for precision piecing, particularly for triangles
- Enough contrast within the collection to keep blocks from turning muddy
The quarter-inch seam magnifies small problems. A slightly skewed edge can become a noticeably uneven unit after several pieces are joined. Loose fibers also catch under the presser foot, so a fabric that feels attractive on the bolt may need gentler handling once cut.
Print direction deserves attention too. Directional motifs may require rotation, and a favorite flower or character may need fussy cutting to sit where you want it. That can reduce the number of usable squares in a pack, even when every precut is technically sound.
For a visual overview of fabric categories and labels, this quilting fabric brand guide offers a practical reference.
One retailer option is QuiltKit's charm-pack and quilting supply catalog, with precuts, coordinated bundles, and finishing supplies from brands such as Kona Cotton, Ruby Star Society, Marcus Fabrics, P&B Textiles, and Blank Quilting. Examine the fabric details and the print scale before buying, then choose a collection whose colors and handling suit the blocks you plan to sew.
Stash Building and Bundling Tips for Savvy Shoppers
A useful fabric stash doesn't have to be huge. It just has to be usable on a Tuesday night when you want to sew. That's the difference between collecting fabric and building a working library.
I tell beginners to stop thinking only in terms of full-yard purchases. Charm squares for quilting become much more flexible when you treat them as the patterned half of a pairing and keep a few dependable solids nearby.
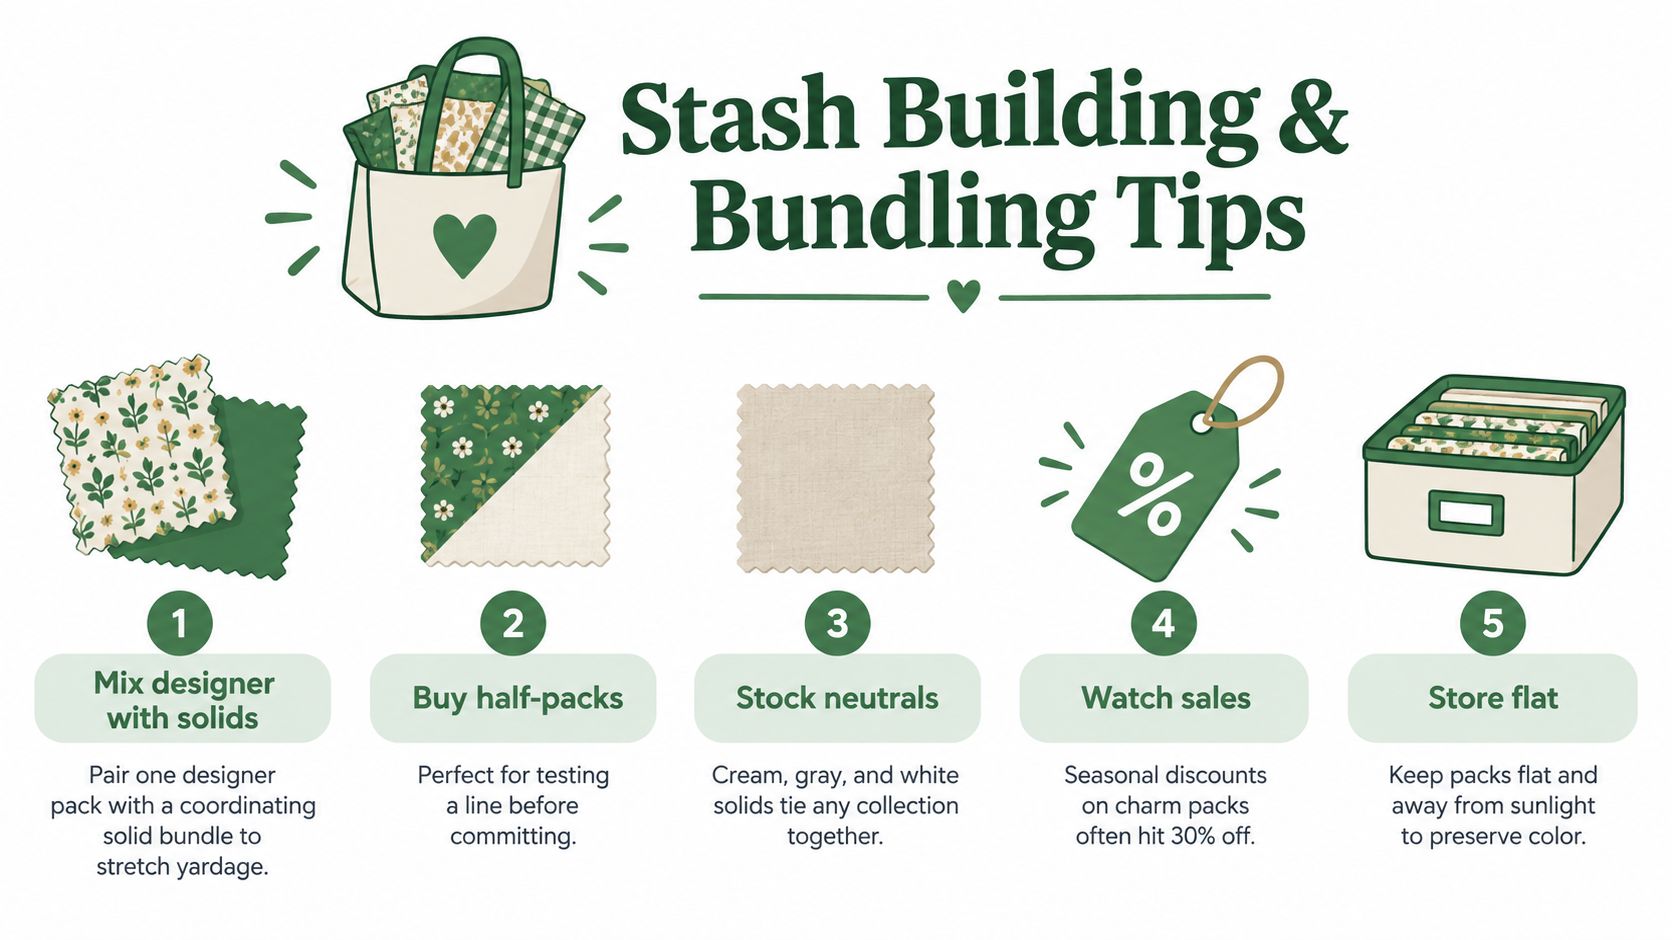
Stash habits that save money and indecision
- Pair one designer pack with solids. A coordinated solid bundle stretches a print-heavy charm pack into a bigger project and gives the eye somewhere to rest.
- Split a pack when you're testing a collection. If you're unsure whether a line suits your style, sharing with a friend lowers the commitment and still gives enough fabric to sample blocks.
- Keep background neutrals on hand. White, cream, gray, or a favorite soft neutral can turn an impulse charm purchase into a sewable project faster than any novelty print can.
- Store packs flat and visible. If precuts vanish into a bin, they become forgotten inventory instead of project fuel.
When bundles make more sense than yardage
Bundles help when you know you want harmony but don't want to spend an evening matching bolts. That's especially true for table runners, baby quilts, and seasonal sewing, where time matters as much as fabric choice.
If your stash strategy leans toward coordinated shopping instead of piecemeal collecting, fabric bundle options for quilting projects are worth browsing as a planning shortcut.
Some readers also like to keep an eye on product detail pages instead of category pages when they shop by project type. If you're comparing supplies tied to actual makes, these are relevant starting points:
- For a quick patchwork gift, browse ready-to-sew table runner kits
- For triangle-heavy layouts, look at half-square triangle quilt kits
- For modern color pairing ideas, review Kona Cotton fabric options
- For print-led projects, explore Ruby Star Society quilting fabric listings
- For finishing a completed top, check 100% cotton and 80/20 batting products
Those habits solve a common beginner complaint. “I have fabric, but I don't have a project.” A small stack of precuts plus a few coordinating solids usually fixes that.
Charm Square Questions Beginners Ask Next
What are charm squares for quilting
Charm squares for quilting are 5-inch precut cotton squares, usually sold in coordinated packs of about 42 pieces, that help quilters start patchwork without cutting from yardage first. They're especially useful for small quilts, table runners, four-patches, and other grid-based projects where predictable sizing makes planning easier (QuiltKit's precut guide).
Can I mix charm squares from different manufacturers
Yes, but check a sample before you commit. Slight dimensional differences between packs or makers can affect matching, especially in blocks with points. If I'm combining packs, I trim a few test pieces first so the whole project shares one true size (Quilt Keeper Studio on checking precut consistency).
What seam allowance should I use
Use a true quarter-inch seam, then test it. The practical move is to sew two squares, measure the result, and adjust before assembling full rows. That's the easiest way to avoid cumulative error and row mismatch (QuiltKit on testing seam accuracy).
How should I press seams for a flat top
Direction matters most in grid layouts. Press consistently so seams can nest where blocks meet. With triangle units, gentler pressing helps avoid stretching the bias, and trimming after pressing keeps the next step more accurate (Quilt Keeper Studio's handling notes for HST units).
Are charm squares worth the price
Often, yes. You're paying for the cutting time saved, the coordinated bundle, and the reduced setup work. For many beginners, that convenience is what turns fabric from a someday purchase into a finished quilt.
If you're ready to move from “I think I could make that” to sewing, quiltkit.com offers charm packs, coordinated bundles, ready-to-sew kits, and finishing supplies that fit this exact kind of project. You can also sign up for Email Sign-up Savings if you're still comparing collections and want bundle alerts before you buy your next charm pack.