


How to Make a Quilted Table Runner
The plates are set, the table looks almost ready, and then you notice the bare strip of wood beneath the centerpiece. You want something handmade, but a bed-sized quilt feels like a 40-hour commitment. A quilted table runner gives you the warmth of patchwork in a smaller project you can plan, sew, quilt, and finish without taking over the dining room.
The most approachable method is quilt-as-you-go construction. You add each fabric section directly to the batting and backing, quilt it before adding the next section, and avoid wrestling a large loose quilt sandwich. This guide shows you how to make a quilted table runner around the table you already own, with practical alternatives for makers who'd rather start with precut strips or a ready-to-sew kit.
Why a Table Runner Is the Perfect First Quilt
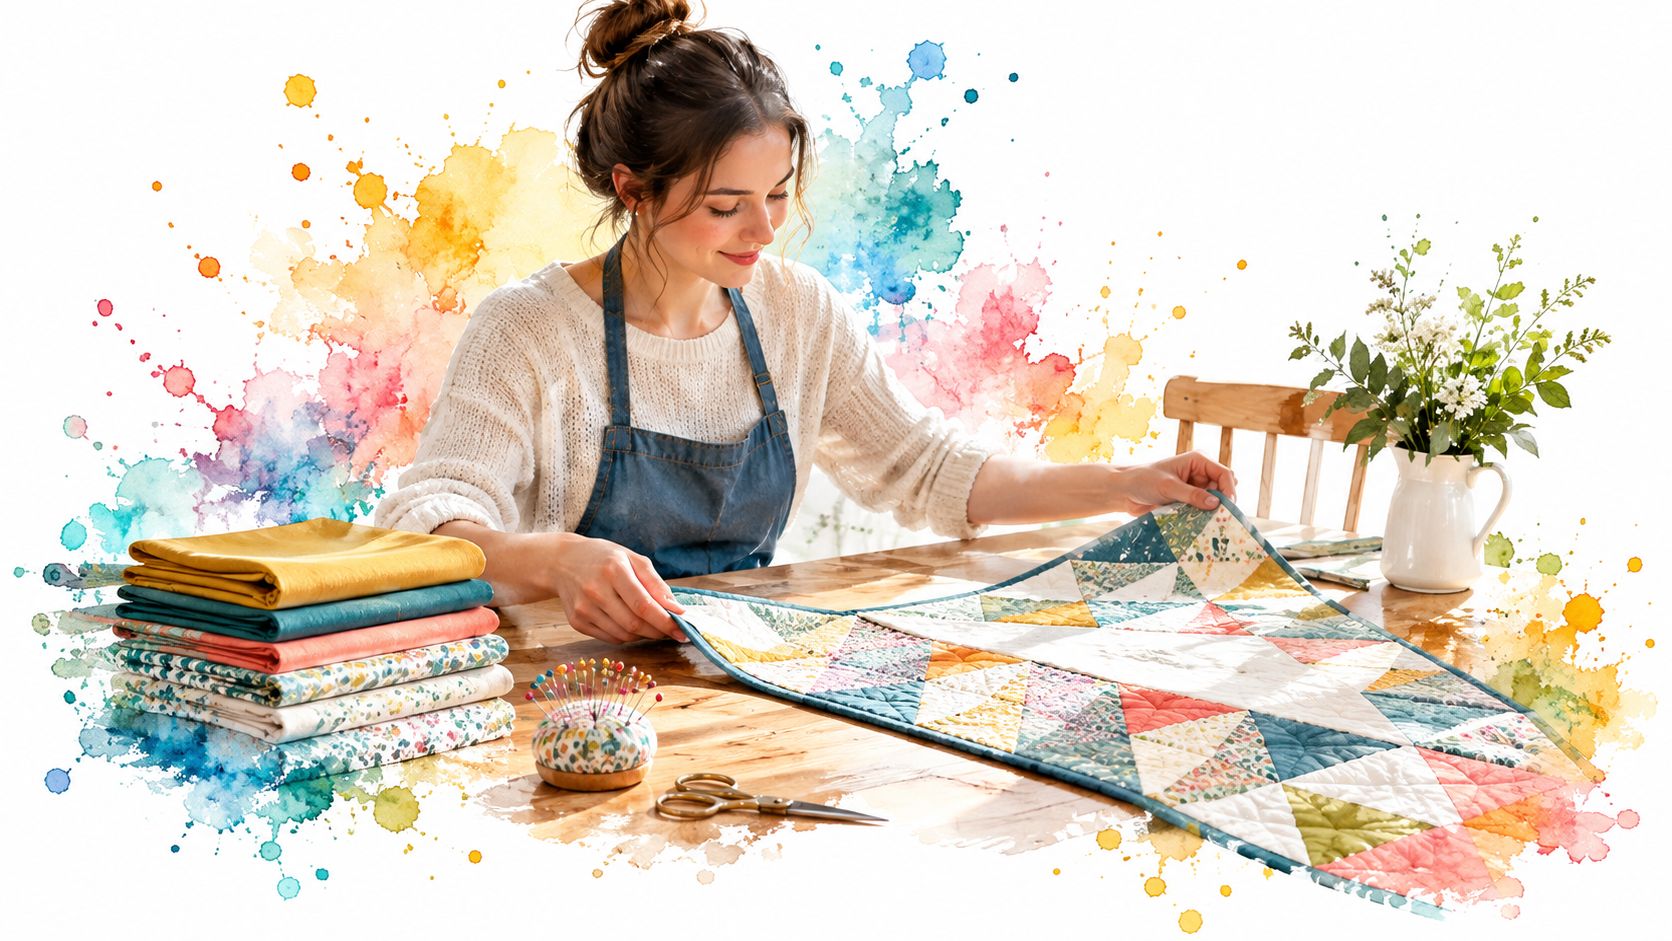
A table runner teaches the skills that make larger quilts successful, but the work stays manageable. You practice cutting, a consistent 1/4-inch seam allowance, pressing, straight-line quilting, trimming, and binding on a project with a clear purpose.
I remember making my first runner and feeling more nervous about the batting than the patchwork. The quilt-as-you-go method changed that. Instead of spreading a large sandwich across the floor and trying to keep every layer aligned, I worked on one section at a time. Each completed section gave me a small, visible win.
The skills you'll carry forward
A runner helps you notice how fabric behaves under the presser foot. You'll learn that a seam allowance can be technically close yet still cause trouble if it changes from one seam to the next. You'll also see why pressing by lifting and setting the iron protects the shape of your pieces better than dragging the iron across them.
Binding is another valuable lesson. A small rectangular project lets you practice joining strips, turning mitered corners, and hand-stitching the folded edge without committing to the perimeter of a large quilt.
For a first project, choose a simple arrangement such as:
- Precut strips: A fast option for alternating bands of color.
- Wedge pieces: Useful when you want a runner that grows lengthwise.
- Simple blocks: A good choice for half-square triangles or leftover quilt blocks.
- A coordinated kit: Helpful when fabric selection and cutting are the parts slowing you down.
The construction is straightforward, but the finished piece can still feel personal. A seasonal fabric bundle suits holiday decorating, modern solids create a clean graphic effect, and a collegiate colorway can turn the runner into a durable gift for a tailgate table or dorm room.
For more design ideas before cutting, explore why a table runner works as a handmade project. Once you know the project is small enough to finish and useful enough to display, the first measurement becomes the most important decision.
Measure Your Table Before You Cut Any Fabric
A runner should fit the furniture, not force the furniture to fit a fixed pattern. Measure the surface length and width, then decide whether you want a centerpiece, a full dining-table runner, or a narrow decorative strip for a console or coffee table.
For a rectangular table, place the tape measure along the direction the runner will follow. Decide how much fabric should extend beyond each end. A visually useful overhang is often 6 to 12 inches beyond the table edge, as described in the sizing guidance for table-runner design from Adventures of a DIY Mom. Keep plate placement in mind. A wide runner can crowd place settings, while a very narrow one may look lost beneath a centerpiece.
Build a simple sizing worksheet
Write down four measurements before you reach for the rotary cutter:
- Table length: Measure the surface from end to end.
- Table width: Record the usable width between the place settings.
- Desired overhang: Choose the amount you want at each end.
- Finished runner width: Select a width that leaves comfortable clearance around dishes.
For the length, add the table length to the desired overhang at both ends. For example, if your table calls for a moderate overhang, add that allowance at each end rather than treating the table length as the finished runner length.
Your cutting dimensions must be larger than the finished dimensions whenever seams or borders are involved. A finished 4-by-6-inch rectangle requires cutting at 4 1/2 by 6 1/2 inches when both dimensions include two 1/4-inch seam allowances, according to this beginner quilting seam allowance guide. Quilting and washing can also alter the final size, especially with cotton batting, so don't cut the backing to the exact finished measurement.
Adapt patterns without awkward fragments
If a block pattern doesn't match your table, resize by adding complete blocks, borders, strips, or wedge sections instead of shrinking every unit. Quilt-as-you-go construction is especially flexible because you can add wedge pieces to lengthen the runner and trim the excess backing and batting after quilting.
A round table may suit a shorter centerpiece that stops well inside the edge. A narrow entryway console may need a slimmer strip with little or no overhang. For additional planning help, use this guide to calculate fabric yardage for your measured project before purchasing fabric.
Choosing Fabrics, Kits, and Batting
Set your fabric choices beside the table measurements you already took. That simple habit keeps a runner from feeling too busy for a small breakfast table or too quiet for a long dining surface. In my own projects, beginners get cleaner results faster when they start with quilting cotton that has a tight, stable weave. It cuts more accurately, holds its shape at the ironing board, and frays less while you build the runner section by section.
Thread count is a construction clue, not a complete quality guarantee. One fabric guide explains that a fabric advertised as 150 thread count may contain roughly 75 yarns in each direction, because the lengthwise and crosswise yarns are counted together in this fabric-quality assessment. Fiber, weave, finish, and handling still affect how the fabric behaves under the needle.
Kona Cotton Solids are useful when you want steady color and a smooth hand. Ruby Star Society prints bring more movement and a modern look. Before you buy, pinch a raw edge and rub it lightly between your fingers. Fabric that feels firm and resists heavy fraying usually makes matching corners and straight seams much less frustrating.
If your sewing time comes in short bursts, kits help. A coordinated bundle or ready-to-sew kit removes a lot of early decision-making, which suits the quilt-as-you-go method well because you can focus on attaching and quilting each section instead of sorting fabrics for hours.
Match the precut to the design
- Fat quarters: Good for mixed blocks, focal prints, and deliberate color placement.
- 2.5-inch strips: Helpful for strip sets, narrow bands, and runners with repeated units.
- Coordinated bundles: Useful when you want the palette handled for you and would rather start sewing sooner.
- Ready-to-sew kits: Practical for time-crunched makers who want fabrics and pattern pieces chosen in advance.
Batting changes both the look and the work of the project. A thin 100% cotton batting gives a runner a flatter, more traditional surface. An 80/20 blend, made from 80% cotton and 20% polyester, adds a little loft and usually glides through quilting more easily. Polyester keeps more puff. Fusible batting can speed setup for a small runner, and black batting helps under dark fabrics where pale fibers might show through.
For quilt-as-you-go, I usually suggest keeping batting low loft. It behaves more like a stable page under your fabric, so you are quilting one manageable section at a time rather than wrestling a soft, shifting sandwich.
| Batting Type | Composition | Shrinkage | Best For |
|---|---|---|---|
| 100% cotton | Cotton fibers | Approximately 3–5% after the first wash, according to this batting comparison | Flat traditional runners with natural texture |
| 80/20 blend | 80% cotton, 20% polyester | Usually less shrinkage than all-cotton batting | Easier quilting with modest loft and stability |
| Polyester | Polyester fibers | Minimal shrinkage in regular use | Preserving loft and limiting dimensional change |
| Fusible batting | Batting with fusible adhesive | Follow the product's care guidance | Fast setup for a small project |
| Black batting | Dark batting fibers | Depends on the fiber content | Dark fabrics and reduced shadowing |
If you want a clearer side-by-side guide before buying, this overview of how to choose batting for quilts is a helpful starting point. QuiltKit carries options from Hobbs Bonded Fibers and Pellon, including cotton, 80/20, fusible, and black batting choices.
Cutting and Piecing the Top
Cutting goes more smoothly when you treat the runner as a series of small, controlled units sized for the table you already measured, not as one large quilt top you have to wrestle into shape. For beginners, that mindset helps. If you are using a kit, keep the pieces grouped in sewing order before you start so you can attach, press, and quilt each section without stopping to re-sort fabrics.
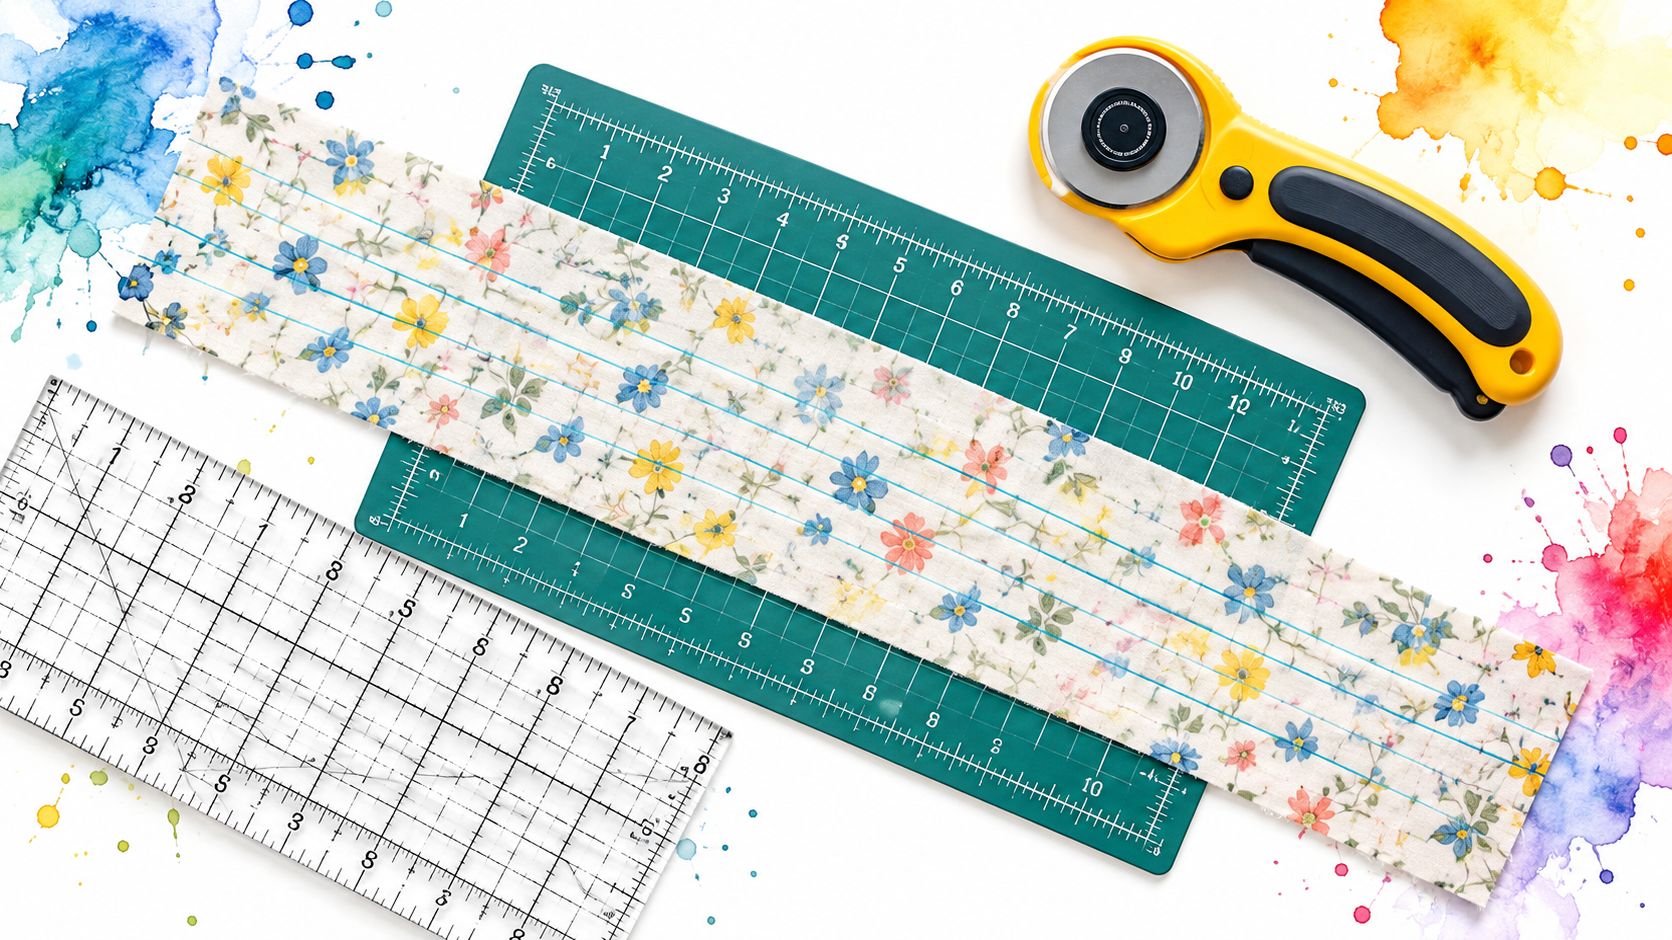
Start with a backing piece slightly larger than the intended finished runner. Place it wrong side up, center the batting on top, and smooth both layers with your hands so they lie flat without being pulled. Mark one straight reference line, then add parallel quilting guides on the batting or fabric, depending on the marking tool you prefer.
Before piecing the runner, test your machine on scraps. Sew two 2.5-inch test squares, press the unit, and check that it measures exactly 4.5 inches, following the calibration method specified by Utah State University Extension. If the unit comes out off size, adjust your needle position or guide now. A tiny correction here saves a surprising amount of trimming later.
Follow the quilt-as-you-go sequence
- Attach the first section. Place the first fabric piece right sides together on the foundation layers and sew with a consistent 1/4-inch seam.
- Press the section. Fold the fabric back into place and press by lifting and setting the iron. Sliding the iron can nudge the grain out of line.
- Quilt the section. Stitch along your marked guides while the piece is still small and easy to control.
- Add the next piece. Place it right sides together with the quilted section, sew another 1/4-inch seam, fold it back, press, and quilt.
- Repeat the rhythm. Keep building one strip or wedge at a time until the top is complete.
Cumulative seam error causes more trouble than any single crooked stitch. A seam that runs slightly wide, then slightly narrow, can change the runner's width enough to make points drift or edges wave. I tell beginners to check every few additions with a ruler instead of trusting that it will all work out at the end.
When joining strip sets, let seams nest where possible instead of flattening every bulky intersection. Keep the grainline straight as you smooth each new section into place. Trim excess batting and backing only after every section is quilted, so the layers stay stable while you work. If you want cleaner cutting around wedges or repeated shapes, quilting templates and rulers can help you keep each section consistent.
Quilting Each Section in Place
Quilt each fabric section immediately after you attach and press it. The marked parallel lines act as a visual rail, keeping the stitching orderly while the project remains small and easy to move beneath the machine.
That is where quilt-as-you-go earns its place. You aren't pushing a loose, oversized sandwich through the throat space of a domestic machine. The quilted area stays controlled, and the unquilted portion remains flexible.
Let batting guide your quilting plan
Low-loft cotton can benefit from closer, evenly spaced lines that hold the surface flat. An 80/20 blend may allow a little more breathing room while still giving the runner structure. The exact spacing should follow the batting manufacturer's guidance and your intended use.
Start with straight lines if you're new to machine quilting. Once your tension is balanced on a scrap, you can try simple cross-hatching or gentle curves, but keep the design consistent at section boundaries. Secure threads neatly so they don't become visible loose loops on the back.
Practical rule: Smooth the backing and batting from the center outward, but don't stretch either layer. A ripple that looks minor before stitching can become permanent after quilting.
I learned this the hard way on an early project. I pulled the backing taut because I wanted it to look perfectly flat, then relaxed my grip after stitching. The fabric released into small ripples that pressing couldn't fully remove.
For makers comparing materials, Hobbs Bonded Fibers and Pellon offer recognizable batting lines with different loft and construction choices. You can also watch the embedded process demonstration before choosing whether straight-line quilting is the right starting point.
A small test swatch lets you check stitch definition, tension, and how the fabric responds before you commit to the whole runner. If the surface puckers, reduce the loft, smooth the layers again, and inspect the tension rather than trying to hide the problem with tighter quilting.
Binding and Finishing the Edges
Binding gives the runner its durable outline and hides the raw fabric, batting, and backing edges. First, trim the backing and batting evenly while preserving the quilt-top edge. Uneven trimming can leave raw edges exposed or prevent the binding from wrapping fully.
Before attaching it, measure the finished runner across several points. If the widths vary, square the quilted unit first. Binding shouldn't be used to force a distorted rectangle into shape.
Prepare and attach the binding
Calculate the total binding length from the runner's perimeter. Join the strips with diagonal seams, sew with a 1/4-inch seam, and press each joined seam open. For a typical small runner, 2.5-inch double-fold strips are forgiving and create a finished binding close to 3/8 inch when sewn with a 1/4-inch allowance, according to Utah State University Extension's binding guidance.
Leave a 6- to 7-inch starting tail, and begin attaching the binding at the middle of a side rather than at a corner. Keep joining seams away from corners so the folds don't carry unnecessary bulk.
For rectangular corners, sew toward the edge and stop 1/4 inch from the edge. Pivot, fold the binding at a right angle, then continue along the next side. This creates a clean miter and reduces puckering.
Finish by hand for a quiet edge
After machine-stitching the binding to the front, fold it around to the back. Hand-stitch the folded edge so it conceals the finishing stitches and lies flat against the backing.
Use a lift-and-set motion with the iron while pressing the binding. Dragging the iron can stretch the folded strip or distort the corner. A crisp press won't fix inaccurate trimming, but it will help a properly sewn binding settle into a professional line.
For a visual reference on the full process, use this beginner's guide to binding a quilt. Take time at the corners. On a small runner, careful mitering is one of the details people notice first.
Quick Variations and Common Mistakes to Avoid
Once you understand the measured, quilt-as-you-go approach, you can change the personality of the runner without changing the core construction.
- Seasonal holiday runner: Use a coordinated bundle for a quick seasonal centerpiece. The Elf Feet Christmas Table Runner Precut Quilt Kit suits a festive table without requiring you to assemble a color palette from scratch.
- Modern pixel runner: Build a graphic design from half-square triangles or arranged solids. A pixel layout makes grainline control and seam accuracy visible, so it's a useful next step after a strip-based runner.
- Collegiate tailgate runner: Choose team colors or a licensed panel for a durable gift. The finished piece can serve a game-day table, graduation celebration, or dorm room display.
- Patriotic centerpiece: A seasonal red, white, and blue design can work for summer entertaining. The Patriotic Gnomes Quilted Table Runner Precut Quilt Kit offers a precut route.
Keep this checklist beside your sewing machine:
- Test the seam: Sew two 2.5-inch squares and confirm the pressed unit measures exactly 4.5 inches. Recalibrate before piecing if it doesn't.
- Protect the grainline: Press by lifting and setting the iron instead of sliding it across the fabric.
- Control the layers: Smooth the backing and batting without stretching, because tension can create permanent ripples.
- Trim before binding: Evenly trim the backing and batting while keeping the quilt-top edge intact.
- Check the shape: Measure across several points and square the runner if its widths vary.
- Reduce puckering: Choose suitable low loft, review machine tension, and avoid quilting more densely than the batting supports.
- Keep corners clean: Stop 1/4 inch from each edge, pivot, and fold the binding at a right angle.
- Choose the easiest starting point: Use precut strips or a ready-to-sew kit if cutting is the part making you postpone the project.
A table runner doesn't have to prove your quilting skill through complexity. It should fit your table, lie flat beneath everyday dishes, and show that you can control the sequence from fabric selection to final hand stitch.
QuiltKit offers ready-to-sew table runner kits, precut fabric projects, modern solids, seasonal designs, collegiate panels, and batting options from brands including Hobbs Bonded Fibers and Pellon. Visit quiltkit.com to choose a runner project that matches your table, and join the email list for Email Sign-up Savings while you build your quilting stash.